Superscript
Felt Pieces:
How to Make Your Own!
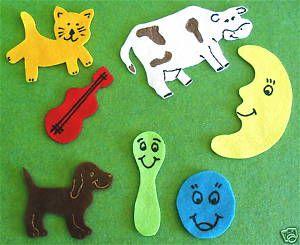
I have fond memories of the felt board and felt pieces that I grew up with and was wanting to buy some flannel board stories recently. I never knew how expensive felt pieces are! Even the set I found on Craigslist was over $100! After doing the iron-on onesie designs, I decided to use the same T-shirt iron-on transfers process to make my own felt pieces!
Make Your Own Flannel Board Felt Pieces
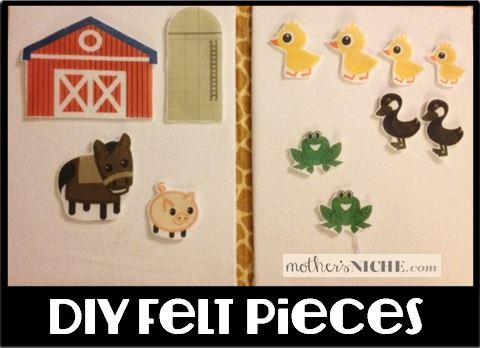
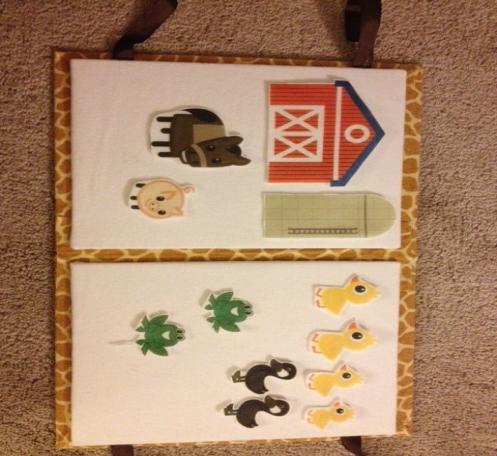
I’m super giddy and thrilled at how perfectly they turned out, because this opens a whole new world of possibilities for the different felt characters and images I can make. I made these cute farm felt pieces using my printable quiet book pdf, and then just ironed them onto felt. It took five minutes! Now I have cute felt pieces to go in my portable felt book!
At home with the kids? Instantly access any of these printable activity bundles to keep them learning!
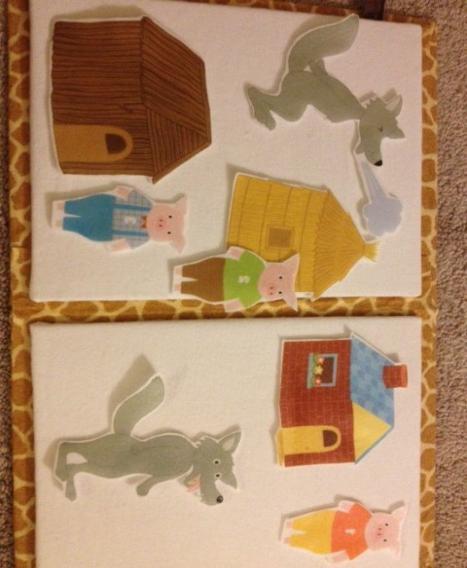
How cute is this?! I found the 3 Little Pigs printable from kizclub and made felt pieces from them. You can get the three pigs pdf here: 3 Little Pigs Printable
Tips For Making Your Own Felt Pieces:
Just make sure that if you are ironing on an image with letters or numbers that you remember to reverse the image! I forgot that the pigs had numbers on their shirts so I skipped this step (the numbers are backwards).
Use the snipping tool to copy and paste as many images to one page as possible so that you don’t have to use as many transfer papers. I try to leave as little white space as possible, giving me more felt pieces per page.
TRAVEL FELT BOARD SET: ONE-HOUR TUTORIAL
+ FREE PRINTABLE TEMPLATES!
If you’re traveling with kids, this travel felt board is a super quick DIY craft that makes a great activity for kids stuck on a plane or in a car. Less than one hour to make and under five dollars…you can’t beat that!
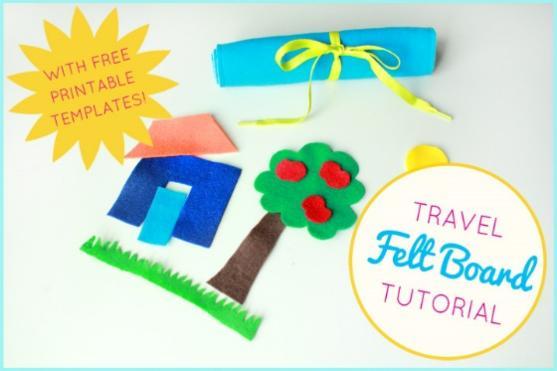
It took me less than an hour to make the basic set and it cost less than three dollars!
It’s easy and cheap to make. Making the board and my basic set of shapes to play with took me less than an hour. To make the more detailed sets takes a little more time, but it’s a good activity to do while you watch TV. Cost for my materials was less than $3.00. I bought shoelaces for $3.00, but you only need one per felt board, so that’s only $1.50. Felt is often on sale for 25 cents a sheet, so that’s only 50 cents for the board, and then 25 cents more for each color you need to buy to make your play shapes. Can’t beat that!
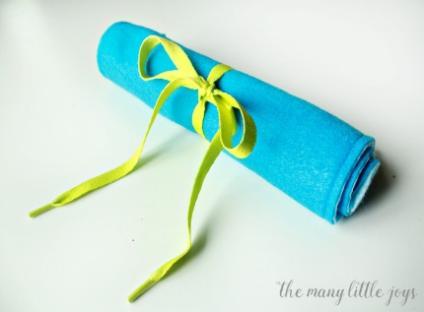
It’s super portable. When I’m traveling, I want to pack as little as possible. So, any toys and activities I take have to be small, and they have to be worth the space they take up. This travel board rolls up small and is light-weight so Little Man can carry it in his own backpack.
It’s reversible. Two sides mean two different background colors, which makes it more fun to play with multiple felt sets. I made one side light blue to look like sky. The other side is a darker blue that makes a great ocean.
It has a nifty pocket. Pockets are fun…and practical. Because you only sew three sides of the felt board, the whole thing is one big pocket that you can use to store the felt pieces when you’re not playing with them. I love having an easy way to keep everything together. Plus, it’s easy to slide a book inside the pocket while you play to create a hard surface. I take books when we travel anyway, so it’s not anything extra to pack!
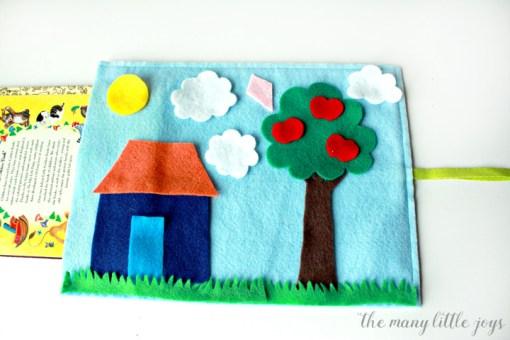
TRAVEL FELT BOARD
MATERIALS:
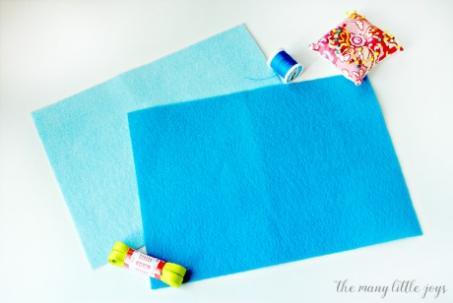
2 felt sheets (9×12) in the colors of your choice (I did light blue and bright blue)
1 shoelace
sewing machine and thread (If you’re not inclined to sewing, I’m pretty sure you could totally do this with hot glue, but I haven’t actually tried it.)
straight pins
Sharp sewing scissors
felt scraps in assorted colors for making your shapes/play sets
shape templates
pen/pencil
freezer paper & iron (optional…I love This tutorial that explains how you can use freezer paper to make cutting felt easy-peasy.
DIRECTIONS:
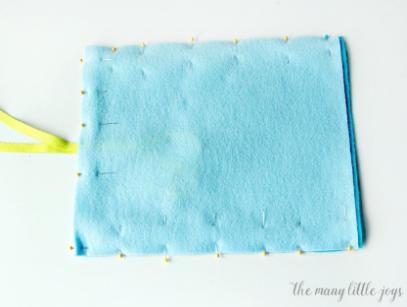
Place your two sheets of felt on top of each other. Line them up carefully. Pin (or skip the pinning if you’re lazy like me an able to overcome your perfectionist tendencies in the name of saving time).
Fold your shoelace in half and place between the two sheets of felt
Sew around THREE sides of your felt board, leaving one of the short sides open.
And you’re done with the felt board! Wahoo for simple projects.
To make your felt pieces to play with on the board, simply choose your colors of felt, cut out the downloadable templates below, trace onto the felt (or use the freezer paper method HERE), and cut them out. I like to keep the felt pieces for each set in little baggies and slip them into the pocket before rolling up the board for storage. Voila!
Making felt pieces with patterns or templates
The Secret to Cutting Felt Story Pieces
I’m so thankful that I found this tutorial! And now I’m obsessed with making these cute flannel/felt stories for my final project. So don’t be surprised if you see more of these posts!
Supplies:
Felt (You can purchase small pieces at your local craft store. If you plan to make quite a few flannel storyboards, I highly recommend finding a discount fabric store where you can purchase felt by the yard).
Freezer paper -This is the SECRET!! (you can find this at your local grocery store in the foil and plastic food wrap aisle).
Computer & Printer
Marker, pen, pencil (I used markers)
Iron
Ironing board
Scissors
Hot glue gun (optional)
Directions:
When it comes to creating a felt story board, you will want to find a pattern to print out. Unless you are naturally artistic, then you can just draw your artwork directly onto the freezer paper.
I needed to make a birthday cake so I found this coloring page on DLTK’s Coloring page website.
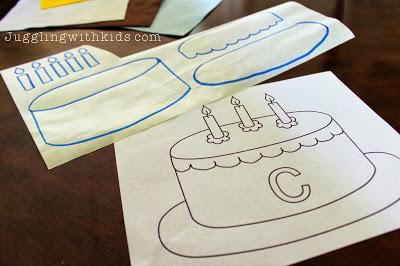
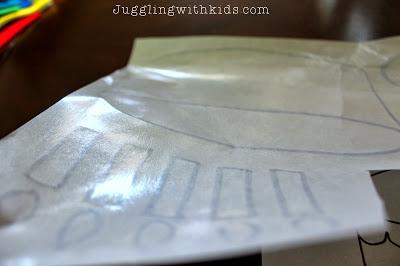
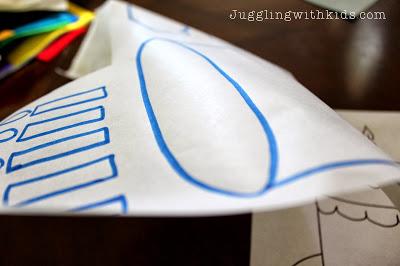
With freezer paper there is a glossy side. That is the side that you will iron onto the felt.
The side with the paper finish is where you want to trace the art. Put your freezer paper on top of the photo that you printed out and trace it with a marker.
Next you will cut out the drawings and iron each piece onto the correct color of felt. I wanted my cake you look like a chocolate cake so I ironed it onto a brown piece of felt.
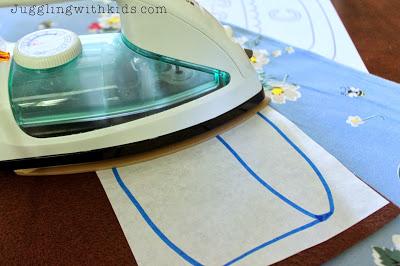
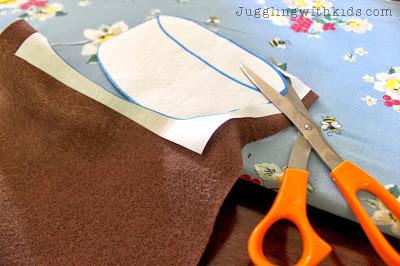
See….the freezer paper is now temporarily glued onto my felt.
Now you can cut out your shape. And peel the freezer paper off. One very COOL thing I learned is that you can REUSE the freezer paper. So, if you want to make 5 more cakes, then just iron the shape onto another piece of felt. It will stick again!!
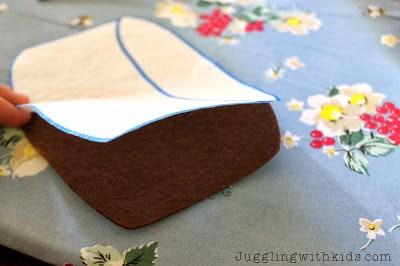
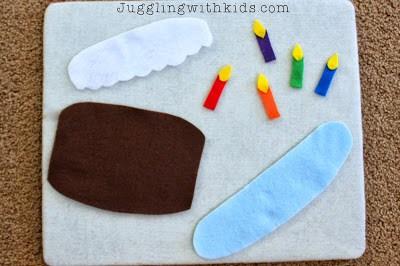
Here are all my cake pieces finished. I hot glue gunned the flames to the candles, however it’s not necessary.
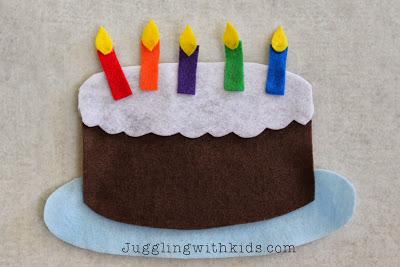
And here is the cake put together.
You can even use a Sharpie marker or fabric paint to add some details to your felt piece.
HERE ARE THE DOWNLOADABLE TEMPLATES I MADE FOR MY OWN TRAVEL BOARD, PLUS LINKS TO A COUPLE OTHER FREE TEMPLATES THAT I THINK ARE TOTALLY ADORABLE!
Felt Board Story Patterns
Alphabetical Order
Bunnies in the Grass Felt Board
Cat in the Hat Color Felt Board
Cat in the Hat Shape Felt Board
Chicka Chicka 123 Paint Stick Felt Board
Chicka Chicka Boom Boom Paint Stick Felt Board
Clifford’s First Christmas Felt Board
Cowboy Colored Bandana Felt Board
Emergency Medical Care Felt Board
First Day of Winter Felt Board
Fish in the Sea Name Recognition Felt Board
Frog on a Brown Log Felt Board
Glad Monster Sad Monster
Graduation Felt Board
Go Away Big Green Monster Felt Board
Handa Felt Board
Hickety Plickety My Black Hen Felt Board
Ice Cream Felt Patterning Felt Board
Jacket I Wear in the Snow Felt Board
Ladybug and Body Part Felt Board
Ladybug, Ladybug Fly Away Home Felt Board
Mary Had A Little Lamb Felt Board
Mouse Count Felt Board
Mr. Gumpy's Outing
My Body Felt Board
The Napping House
Old Monster Felt Board
Old Mother Hubbard Felt Board
Olympic Theme Felt Board
Pinata Felt Board
Polar Bear Polar Bear Felt Board
Santa Wears a Red Suit Felt Board
Sarah Ella Gets Dressed Felt Board
Steers at the Auction Felt Board
Ten Apples Up on Top Felt Board
Activities For
Playtime Science
Playtime Science- PDF
Overview for This Program
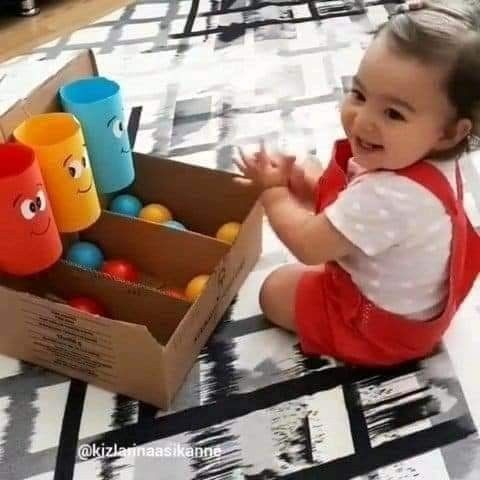
Baby Physics- Balls- Cars Things That Roll
Playtime Science-Fabulus Physics
Playtime Science -Physics and Chemistry of Playdough
Playtime Science- Resources for Parent
Playtime Science- Botany & Nature Play
Playtime Science -Hydrology & Fluid Dynamics in Painting
Playtime Science -Pre-Chemisty Play
Playtime Science-Why spend time outside?
Playtime Science- STEAM Resources and Books
Playtime Science-Discovery Games
