Superscript
Painted Paper Creations
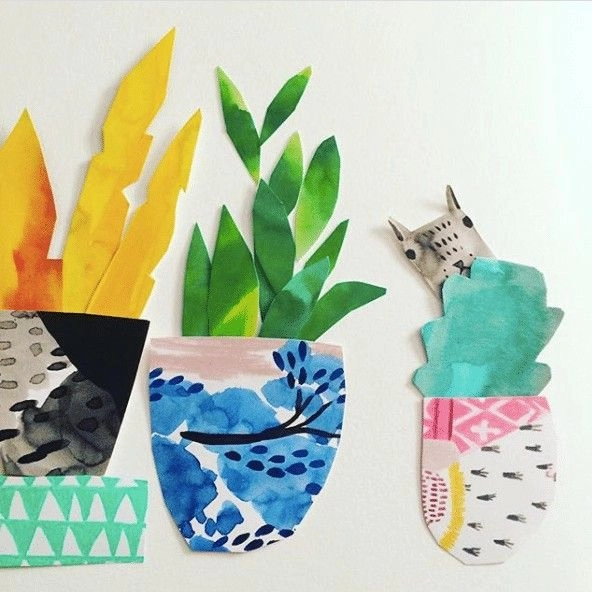
Creating ornamental paper designs is exhilarating as one learns to create dynamic and beautiful projects that could be sold in any art store! The results will be more distinctive and personal, too, with exactly the colors, themes, and design desired. In her uniquely imaginative style, Alisa Golden helps novices approach the blank page and make the creative process their own, in her book Painted Paper.
Focusing on ways to paint paper using water-based media—primarily acrylic inks and gesso—she supplies all the necessary inspiration and information for mastering such techniques as washes, dropper outlines, brush-handle painting, and masking borders. Her exquisite examples range from repeating patterns and freeform designs to customized stencils and translucent layered looks, and projects include an origami envelope, accordion-folded album, and decorative box. If it becomes a process that you enjoy as much as your students it is worth buying.
Plan to Fill The Page
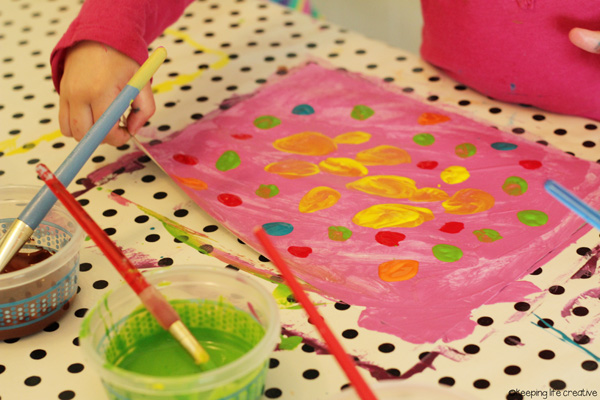
You will want to help students break free from their tendency to make tiny art, ask them to make their subject matter touch the top and bottom of their paper. I’ve found this works wonders with drawing, and so I applied it to this week’s collage project too. It led to layouts that were MUCH more dynamic.
Know the Process for Painting Papers
for Collage
GATHER SUPPLIES
Paper, white
...art tissue, wrapping tissue (not so strong)
...washi (aka Japanese rice paper)
...sumi paper
...copy paper (don't reuse paper printed with inkjet)
...book pages
...students's homework
...old drawings (why didn't I think of that yesterday?)
Plastic
...Large sheets of plastic such as painters use
...Cereal box inserts which are made of plastic. Cut off the rough edges.
...White trash bags, cut open at side and bottom to flatten

Paint
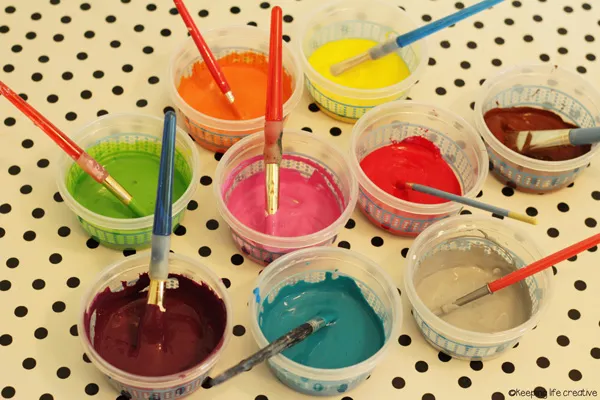
...Fluid acrylics...ink, ...tube or craft acrylic thinned with water to consistency of milk
Small plastic containers such as yogurt cups or deli cups, not paper cups
Brushes, cheap chip brushes or other flat brushes
Water.
...one bucket
...one or two water bottles,
...spray bottle
* Optional: Several large trays covered with plastic wrap and taped to protect from paint. I use old plastic food trays once used in a school cafeteria.
You'll need a large table, several if you can manage, your kitchen counters, or a large expanse of floor or deck that no one will be needing for several hours.
SETTING UP TO WORK...
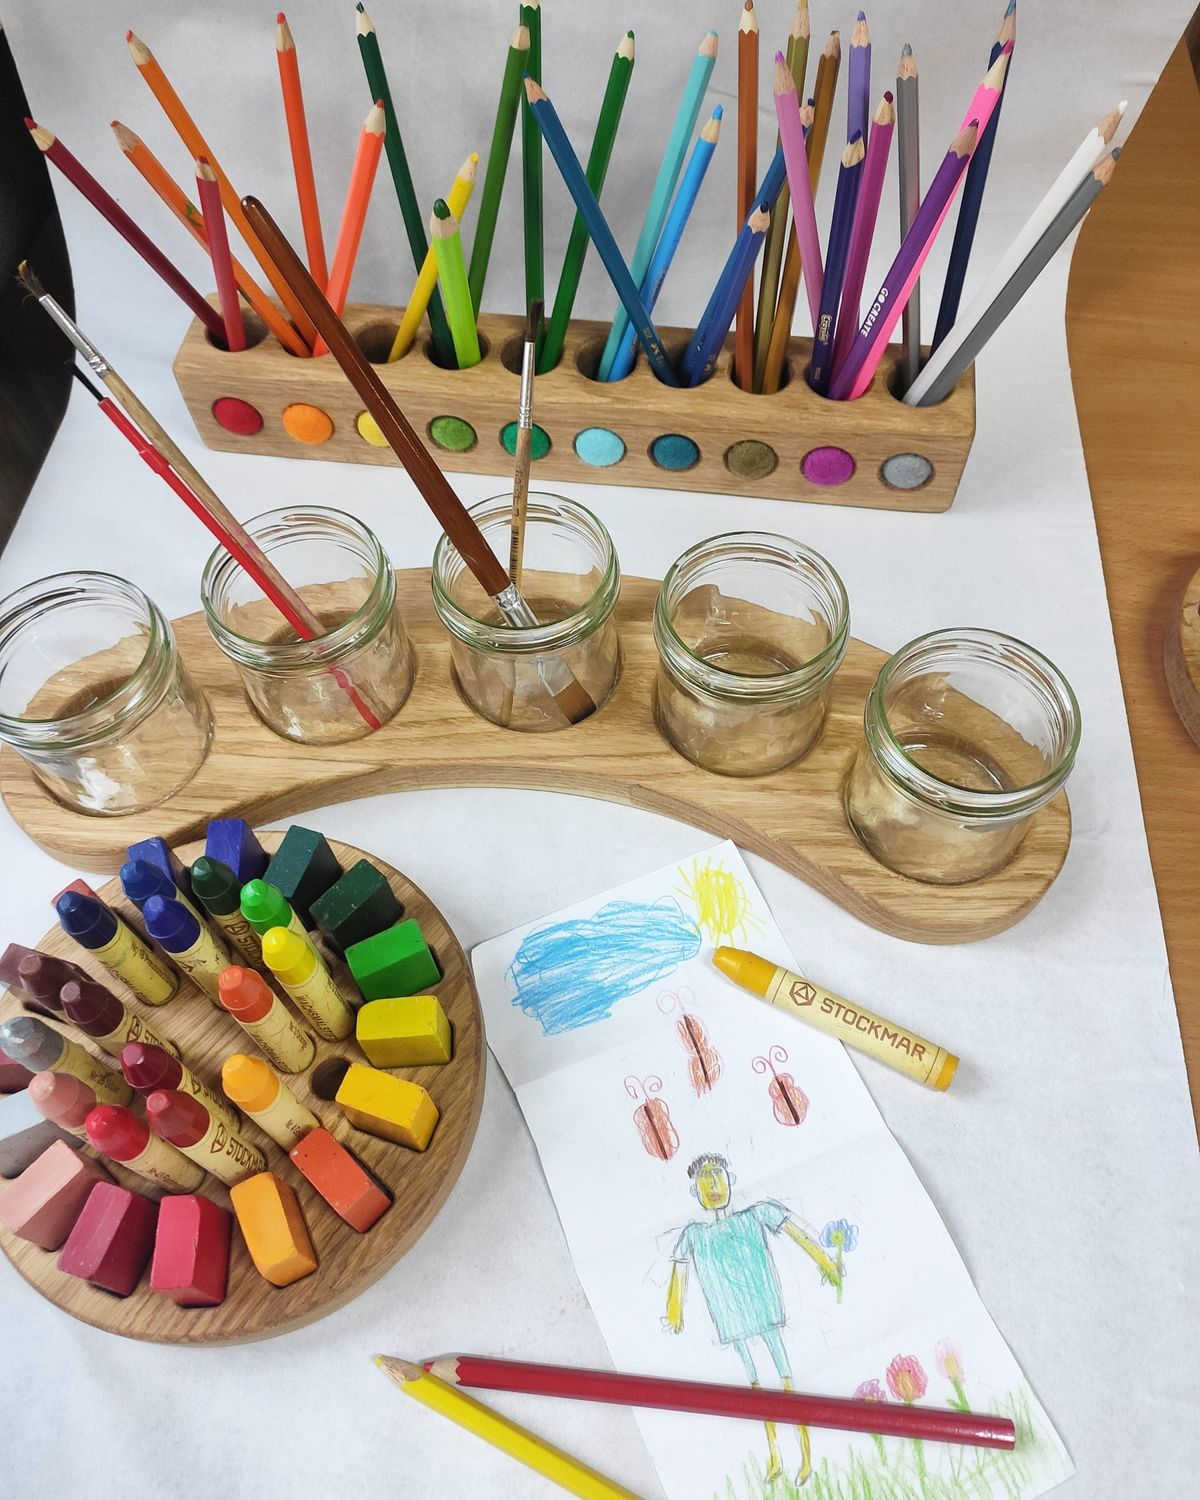
1. Cover your surfaces with the plastic dropcloth.
2. Put a layer of the large white trash bags on top. (this is so you can move the wet paper elsewhere to dry once it's been painted)
3. Place papers in a single layer to cover the surface.
4. Mix paint with water. I used about 1 measure of paint to 2 or 3 measures of water. It takes about 2 tablespoons of the mix per large sheet of tissue paper.
PAINTING THE PAPER...
Work with one color family at a time, i.e. reds, oranges, yellows.
1. Spray the paper with water.
2. Paint the paper evenly with the paint/water mix.
3. Set aside to dry. known.
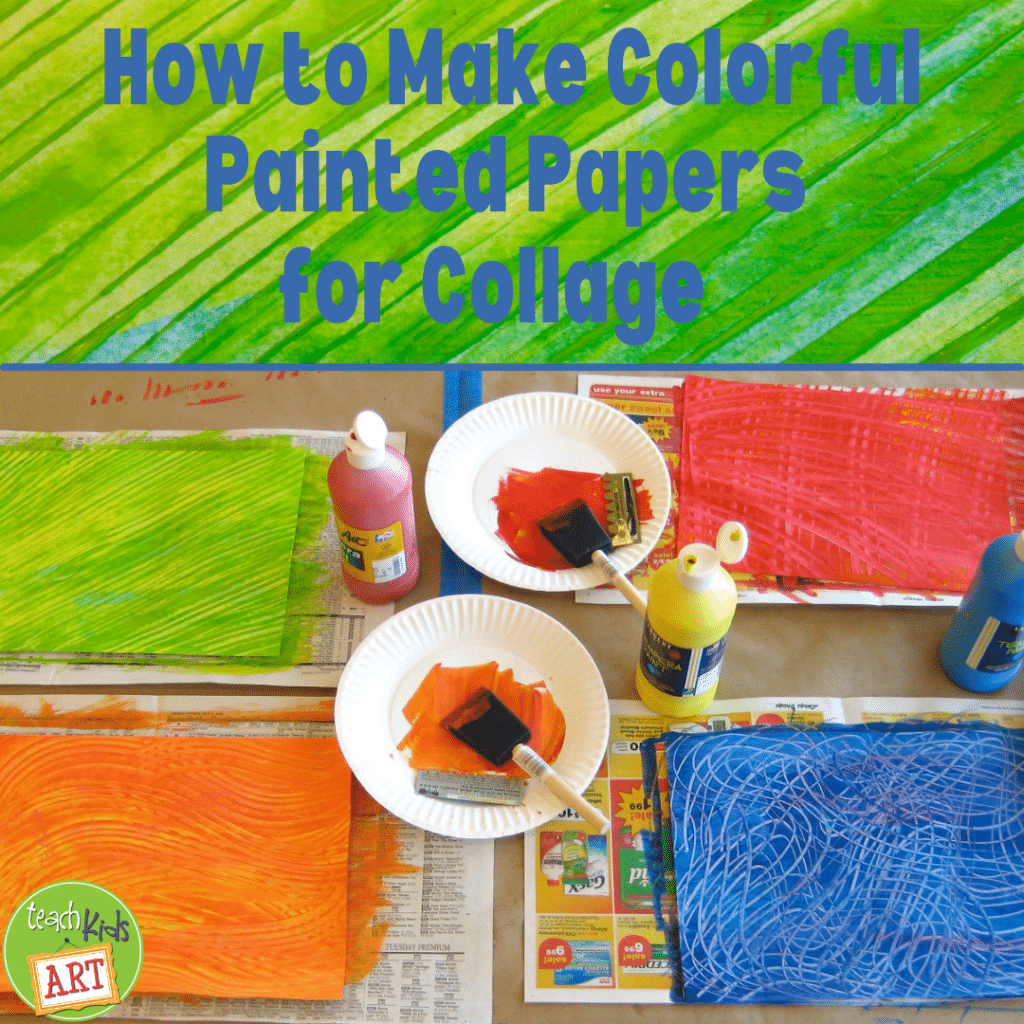
Here’s how we created our painted papers:
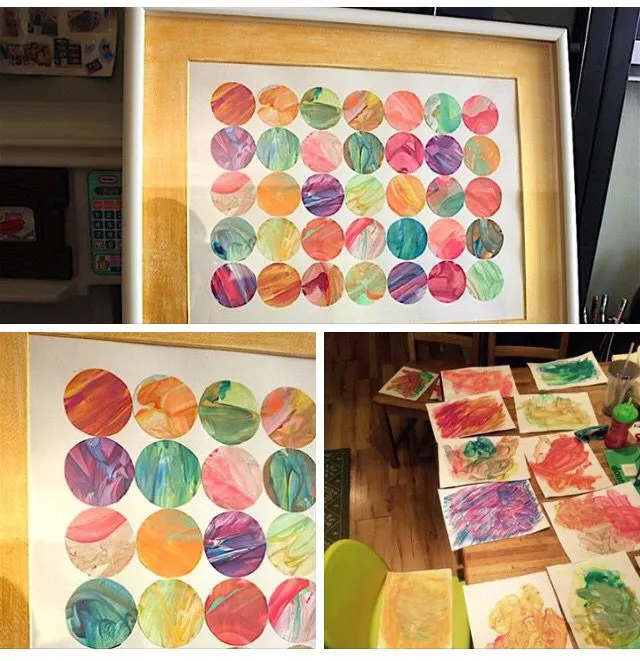
The paint. My kids really like to mix colors when they paint and I used to squirt different colors on a paper plate and let them mix away. But I noticed after a painting session we were throwing away a lot of unused paint (not to mention the colors began to get pretty muddy on the plate!).
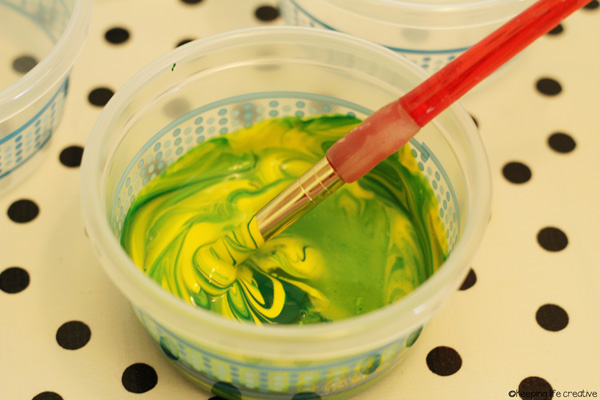
So I picked up a few lidded containers from the dollar store and now we mix colors in the containers, and then just store the leftover for later. It saves money in the long run because you just need to buy the basic colors. It’s also a fun way to let them experiment with color mixing.
Painting
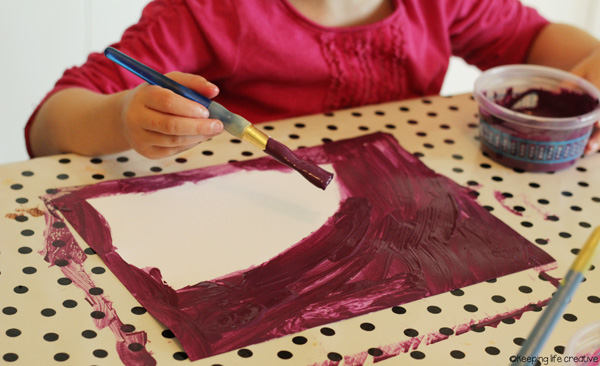
Hmmm. Technically this project may not be process-based art, because there is one guideline I give the kids: paint the paper all the way to the edges. And yes, the table will get messy. Cover the surface with a vinyl tablecloth, placemats or something wipeable for easier cleaning and just go with it. Creativity is messy and you’re about to give those creativity muscles a great workout!
Paint the paper a base color.
Embellishing
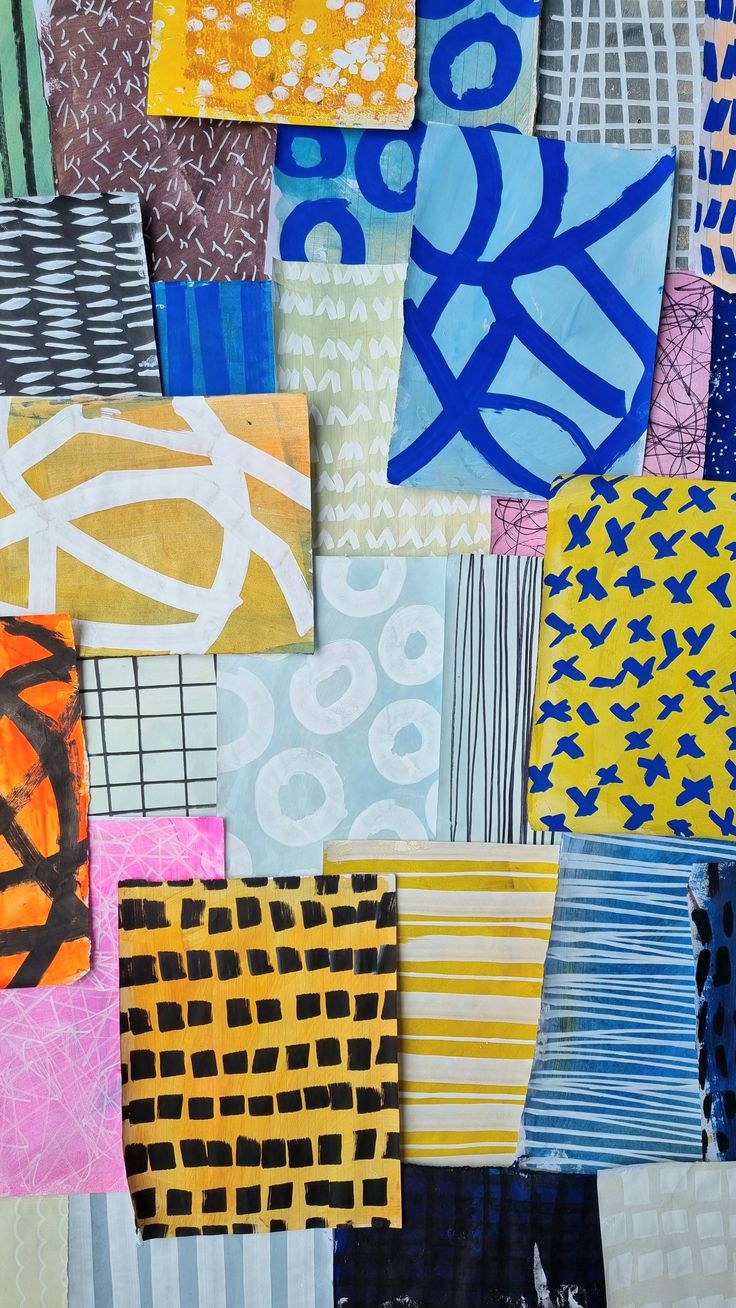
Use a second (or third, or fourth) color to embellish with swirls, stripes, dots, drips, etc.

Texturing
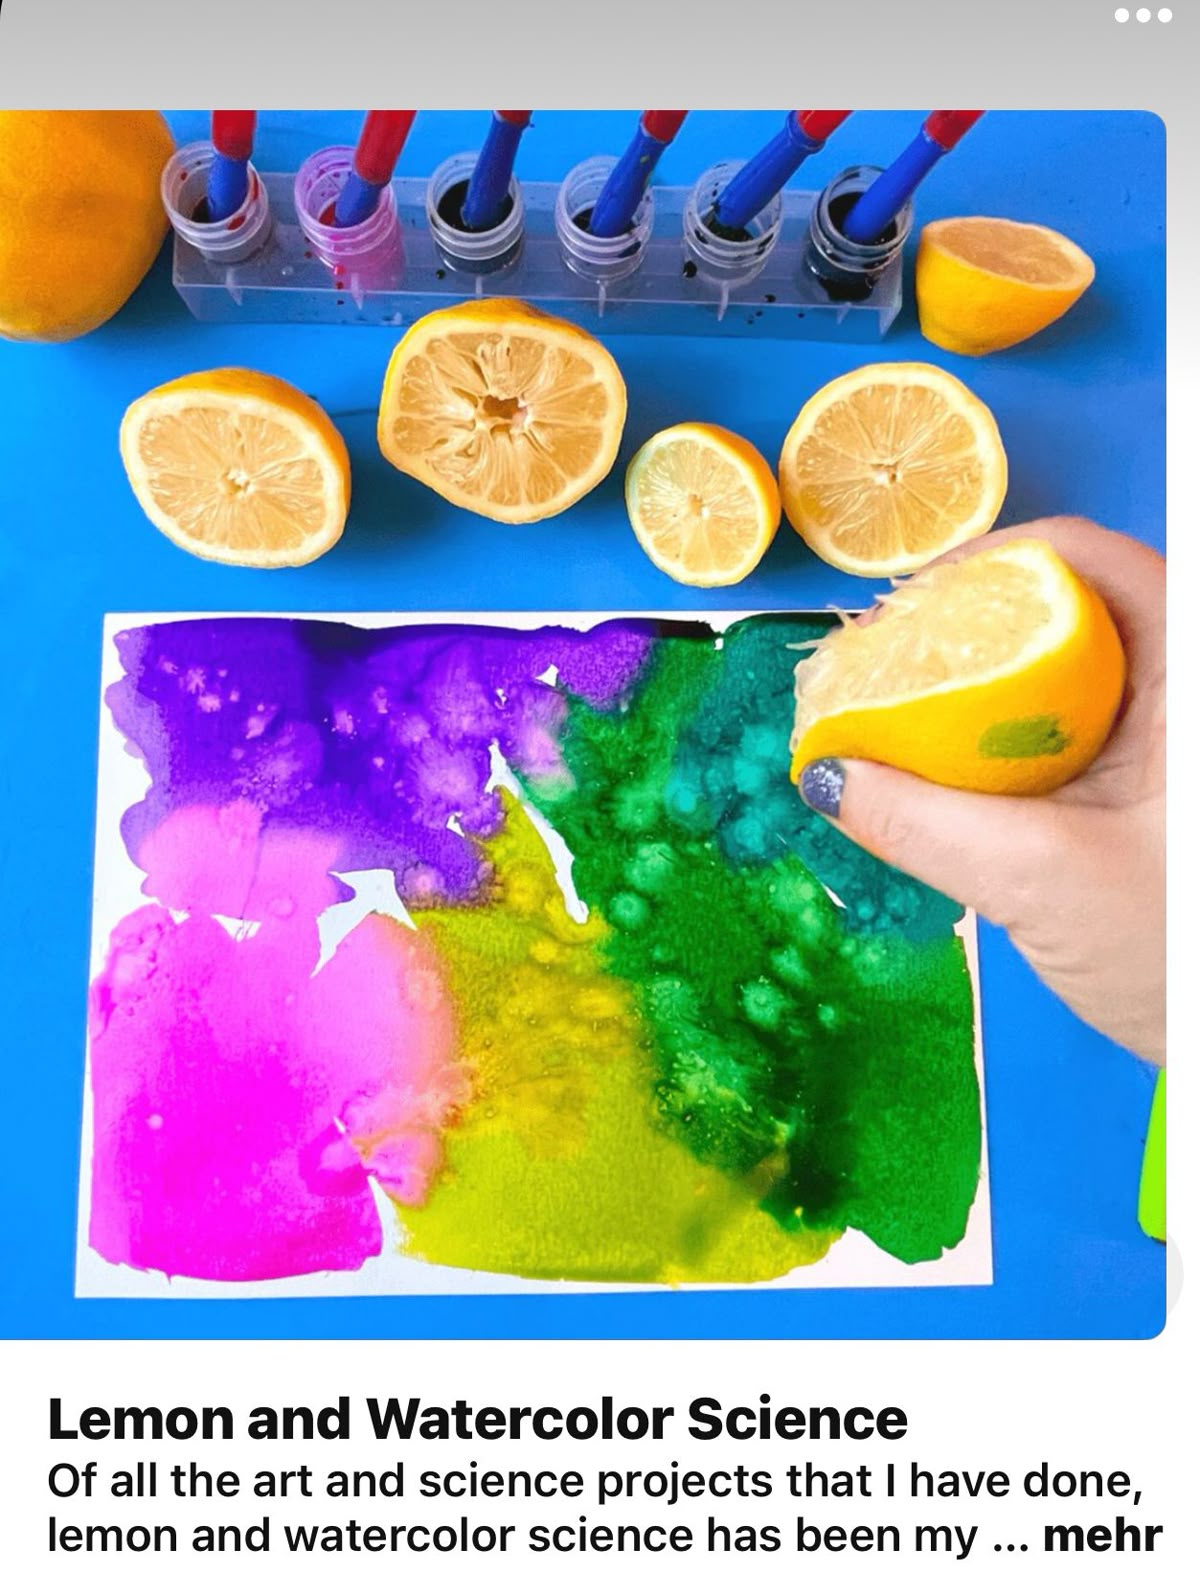
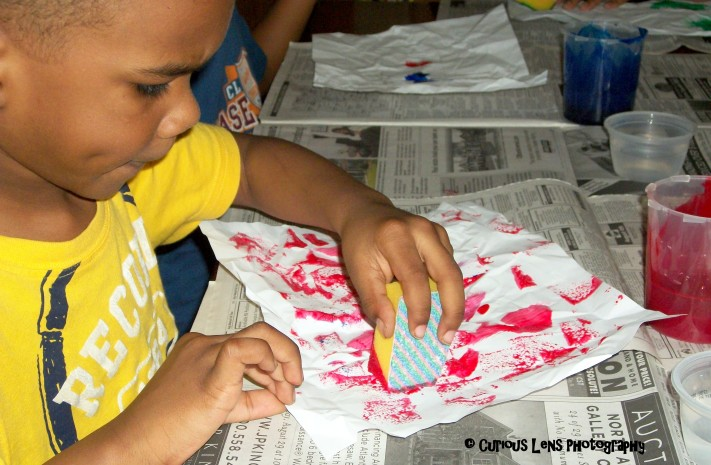
Scrape, dip, or swirl a “texture tool” on the wet paint to create variation.
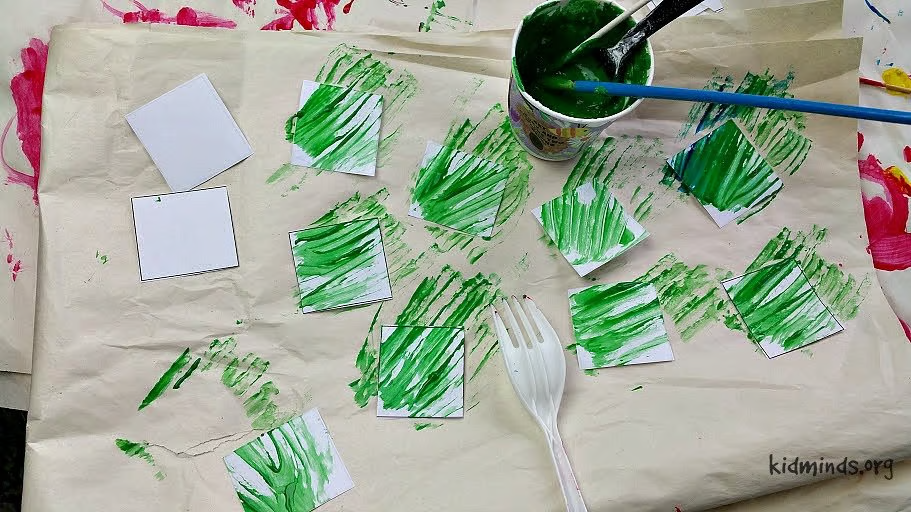
You can buy tools specifically made for this, but if you spend a few minutes looking around you’ll probably find “tools” that will work just fine. Sponges, combs, forks, or just fingertips make great textures.
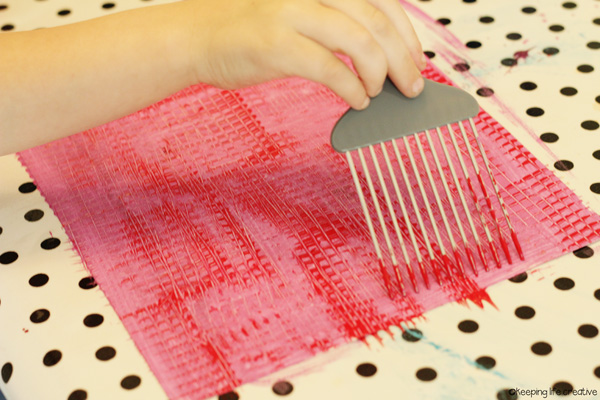
We keep these dollar store hair combs in our paint supplies as “texture tools.”
Drying
A small batch of painted papers can be set on a counter to dry, or an empty dish drainer doubles its duty as a drying rack.
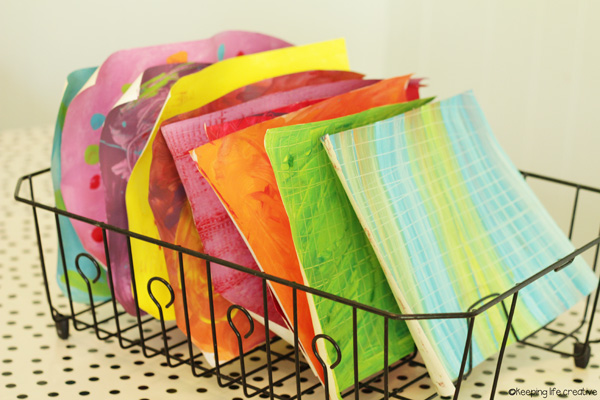
Take a deep breathe, and get out the wet wipes, and repeat: “It’s okay. Creativity is messy, and I’ve just given those creativity muscles a great workout!”
Continue until you run out of time and energy.
Walk away from the papers and let them dry, depending upon the climate.
TIPS...
The trays some in handy when I've run out of flat work surfaces and want to continue painting more papers. I protect the tray with plastic, build a sandwich on top of the try with painted papers interspered with layers of plastic. When I have 5 or 6 layers of painted paper/plastic sandwiched on the tray I stack the trays and set them aside. When other paper dries I peel it off the plastic and cover the surface with the individual wet layers from the trays.
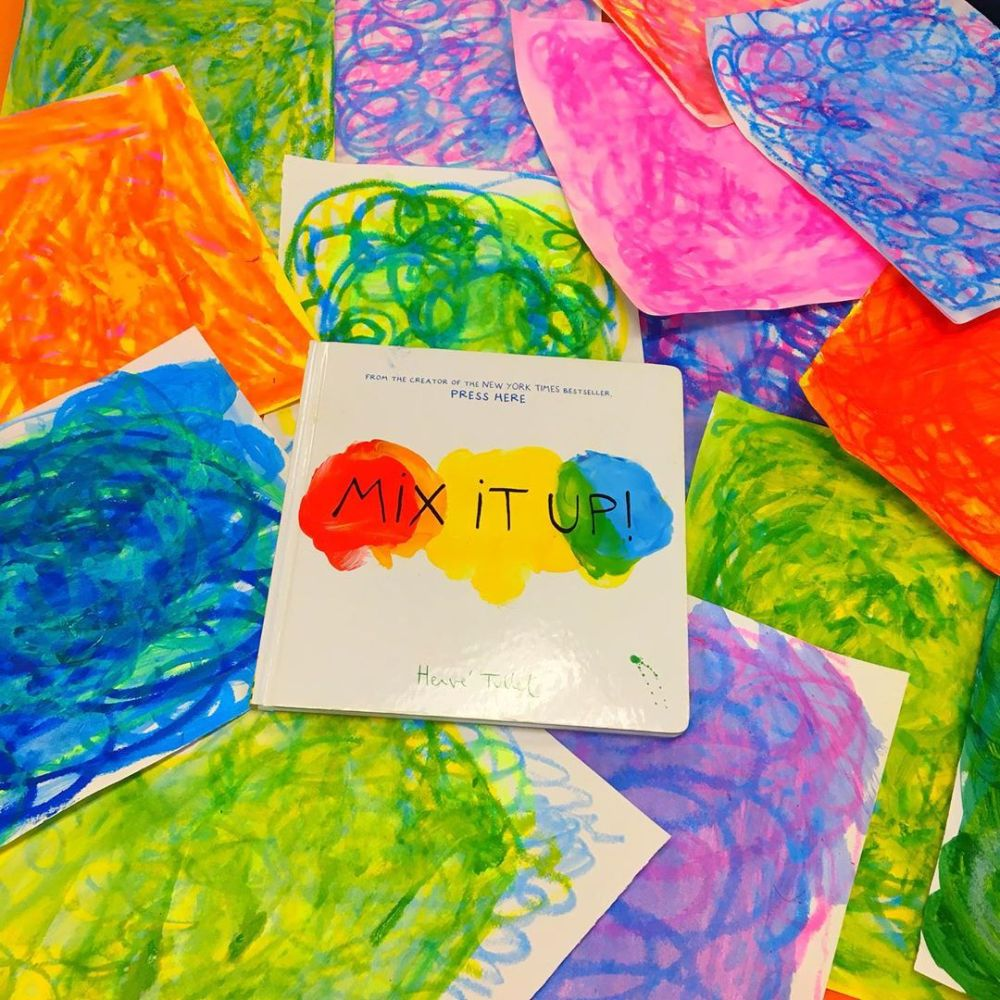
Many of my inks are iridescent and they create a wonderful sense of reflected light in the finished paper, but iridescent and metallic colors don't photograph well, so think of your end use. If you're making greeting cards that will be printed, don't use reflective paint.
Conceptualize Your Project
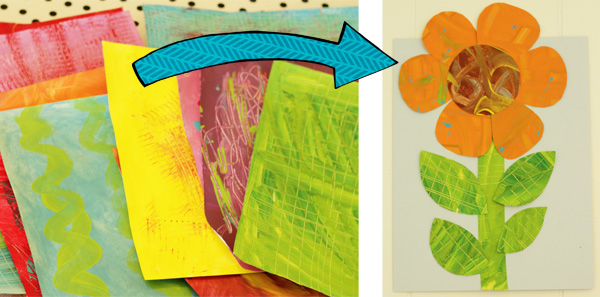
-Think about what you want to illustrate with this project and find a picture of it. Right now I am thinking of eating an ice cream sundae at the beach. If we wanted to create that I would want to find pictures or illustrations of the ocean and another one of a melting gooey sundae with tons of whip cream. The rest I would fill in with my imagination.
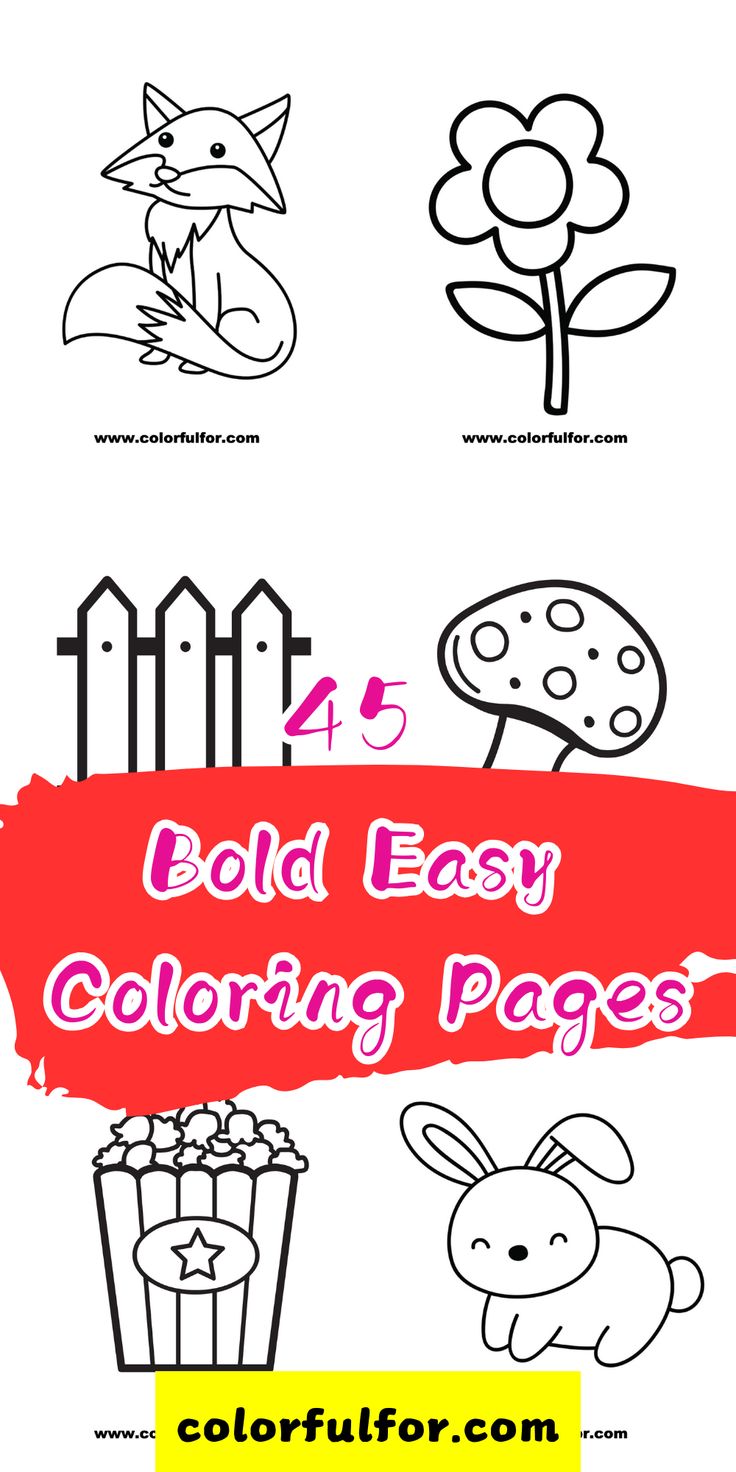
I often use coloring pages that are available on line or in our files and size them up and down as needed.) Hope would just go for it and plan as she goes. But I am the one without the confidence in my skills to do that. Hope’s would carry more emotion and mine will look like a still shot made for a frame. This medium is perfect for the way she sees things with her visual disability and she loves to surf so her project would defiantly have some of them in it so her beach would be the prominent object in her project. I would have the beach in the background and the sundae to prominent item in my collage. I am the ”the less details I have to worry about, the better my projects will be” type artist. Our projects would be totally different even though we chose the same items to be in our collage.
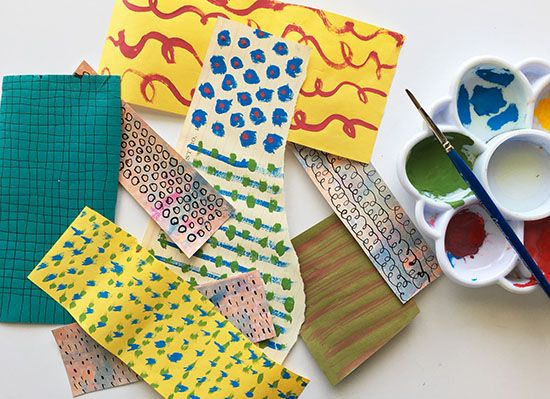
-Cut our pieces of painted paper to start with what is furthest away from us and what is closest to us goes on the last layer. I stack them neatly and put a blank size full sheet of paper top. Then I would turn them over and what I needed to put on first would be on top of the stack. Hope would spread them out. So whatever works for you might be somewhere in between.
-Start building your collage one piece at a time. Paint, draw or blend in the details until you are happy with your project.
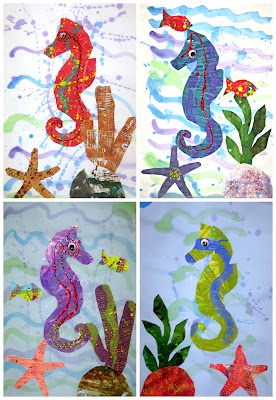
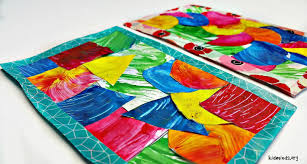
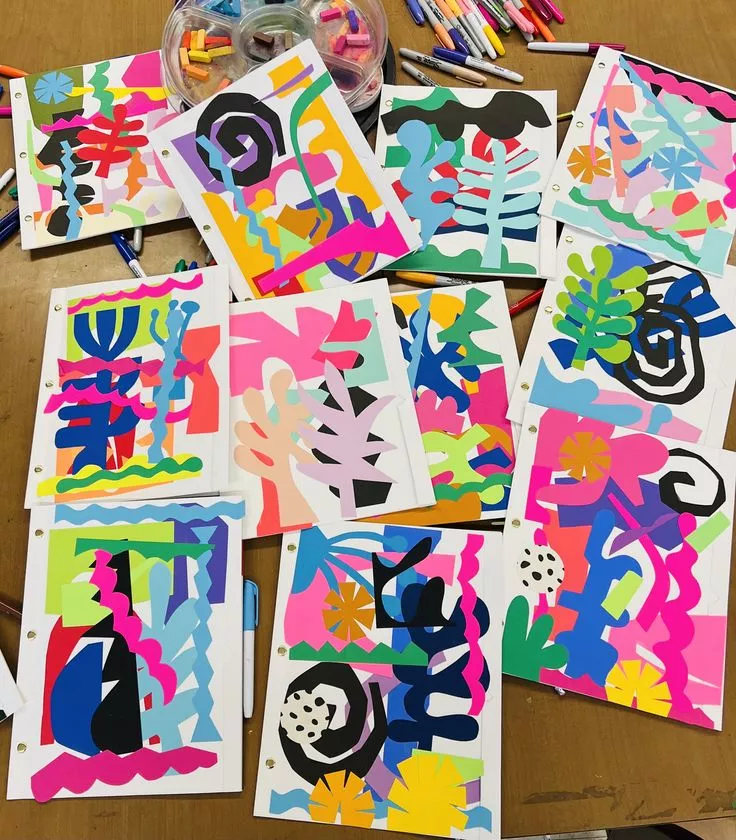
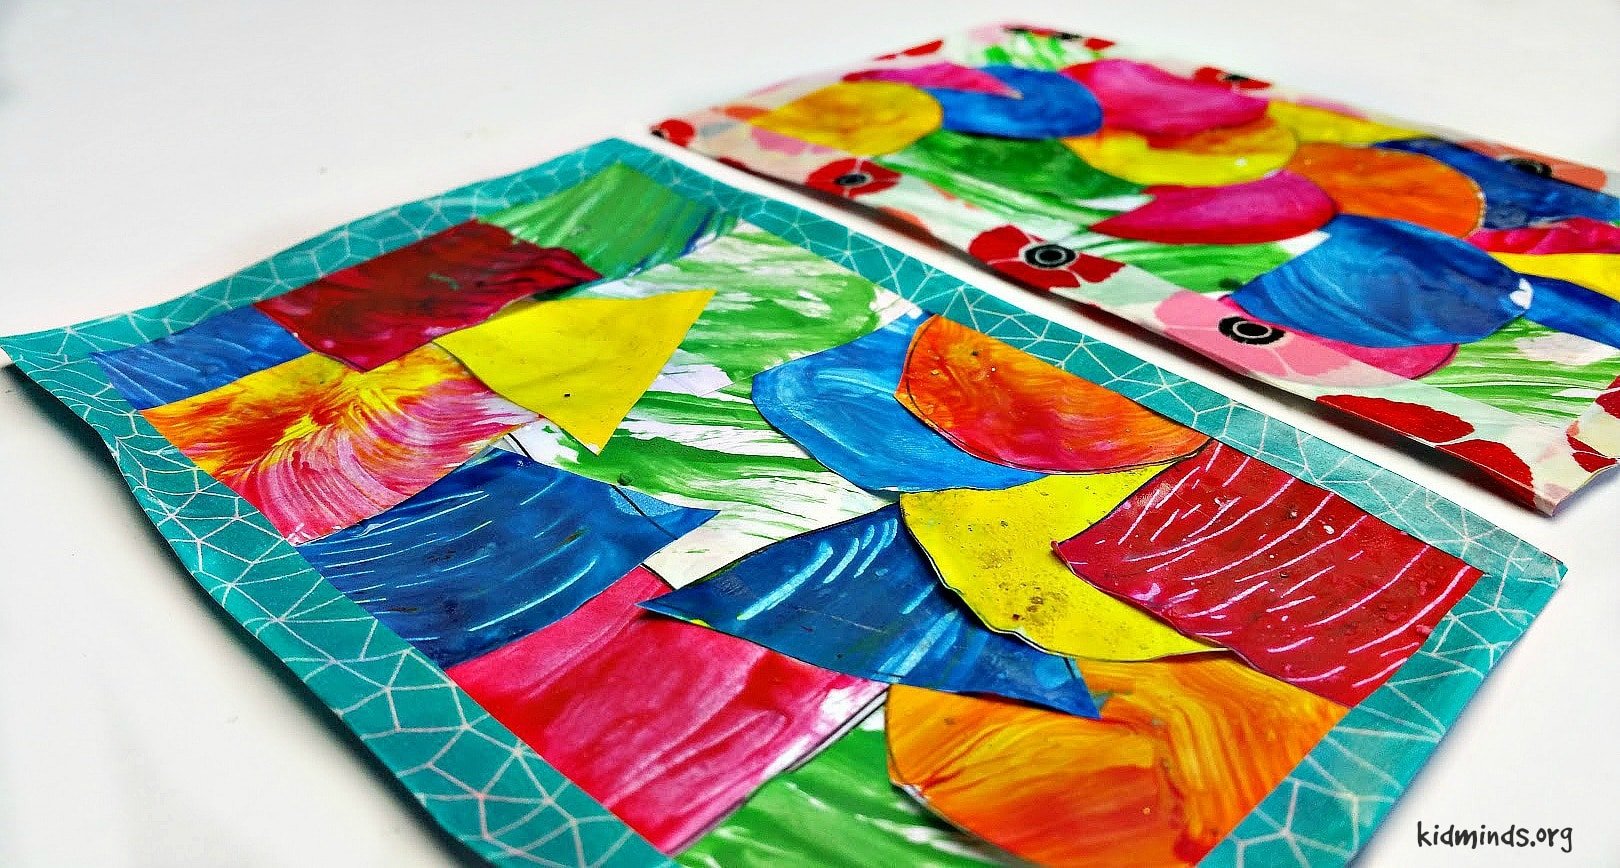
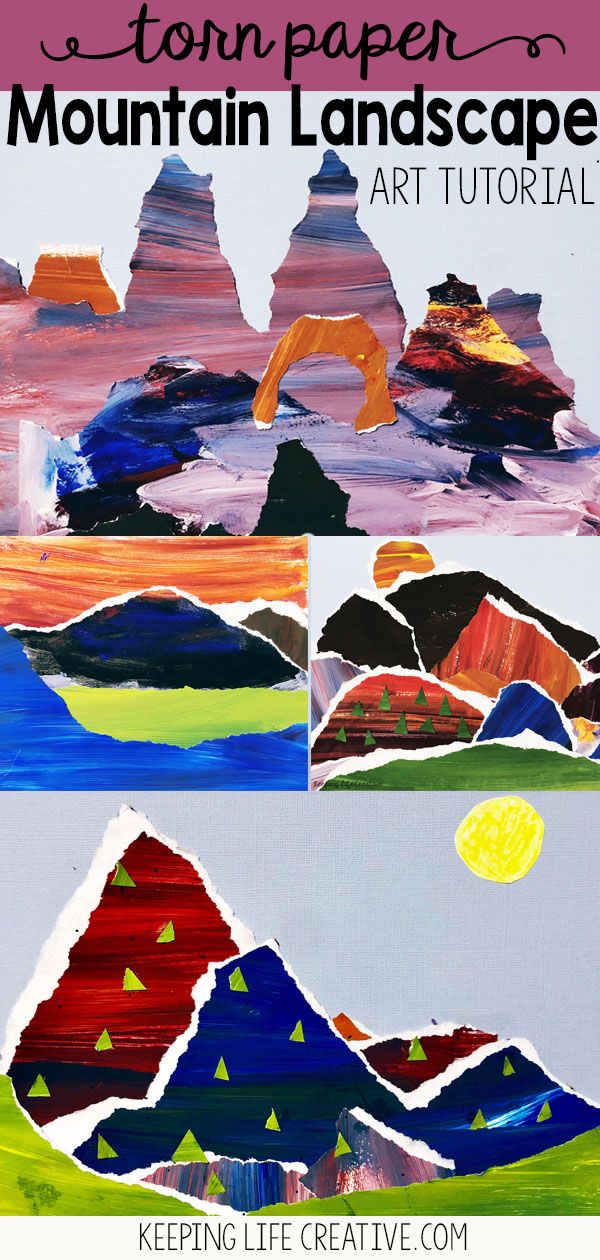
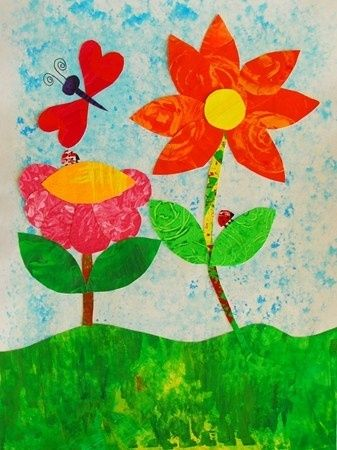
There are some completed painted paper collages below that are on a novice level for you to try.
Superscript
Don’t stop at just painting.
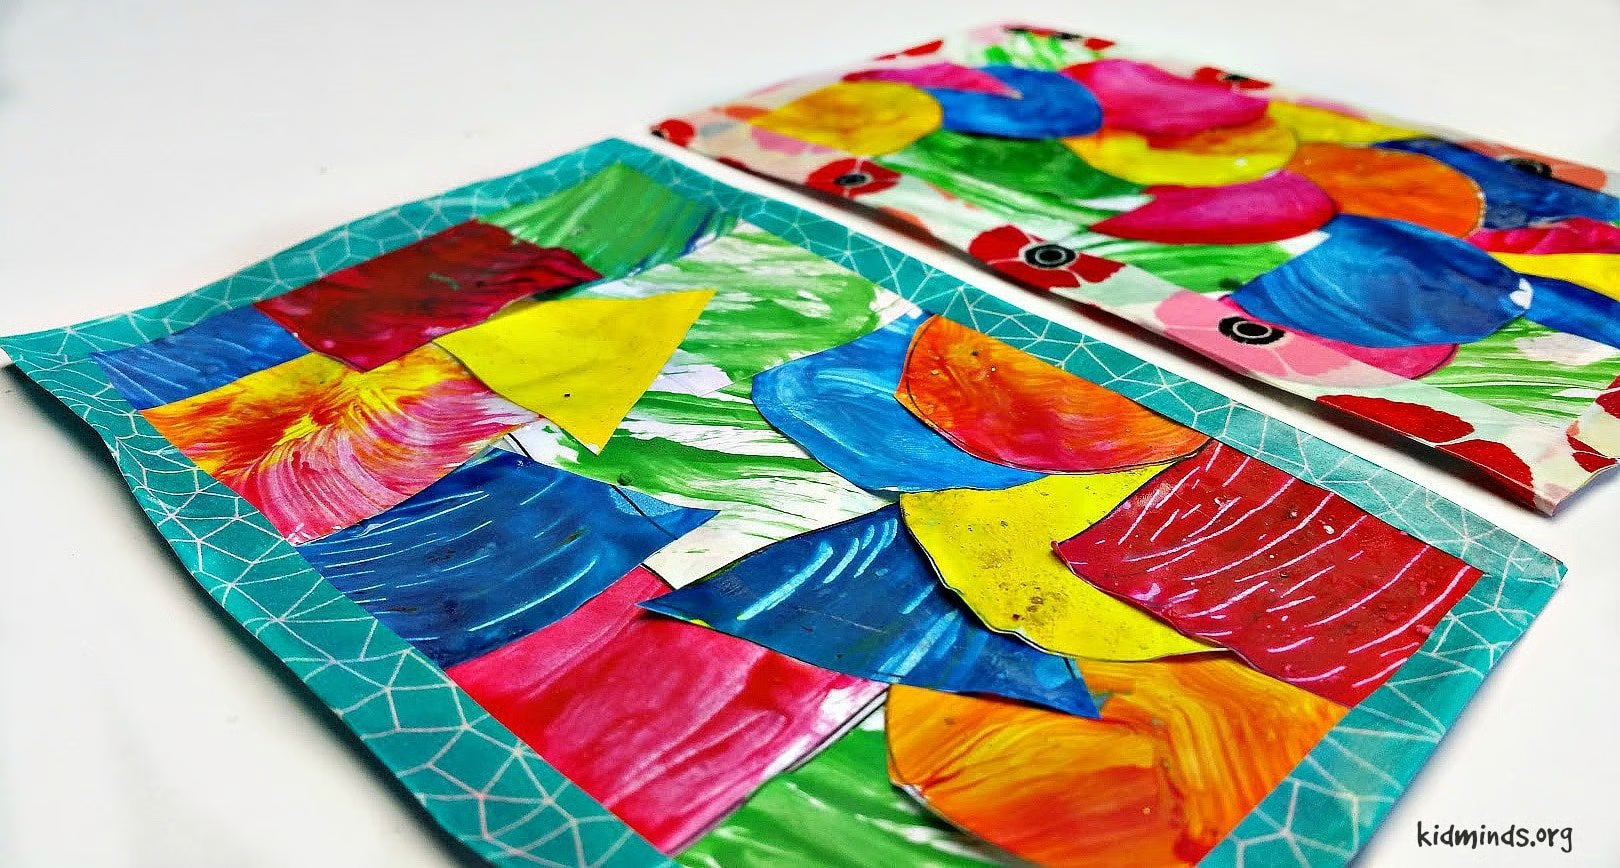
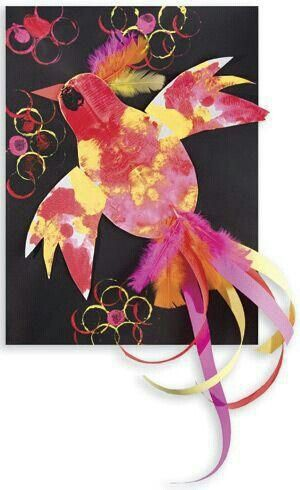
Add some personal flair and embellish your painting with a popular stencil or silhouette.
To make your stenciled project shimmer enticingly, you can use materials such as glitter, glass beads, rhinestones, and crystals, to name a few. Use it to make a collage or the base for a collage from other paintings. Or carefully cut a silhouette out of your painting, then use both pieces in opposite ways right next to each other.
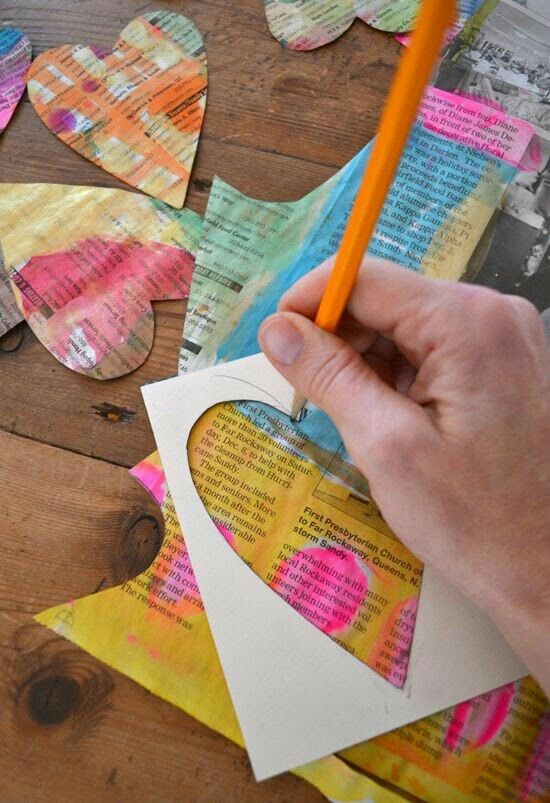
There were so many options to add layers and texture that Hope was drawn to as a child artist.
Embellishing or layering is still her favorite part of making a project.
Families often have many in their home and they are easy to find in craft stores, dollar stores, Jo Anne Fabric, Walmart and Amazon.
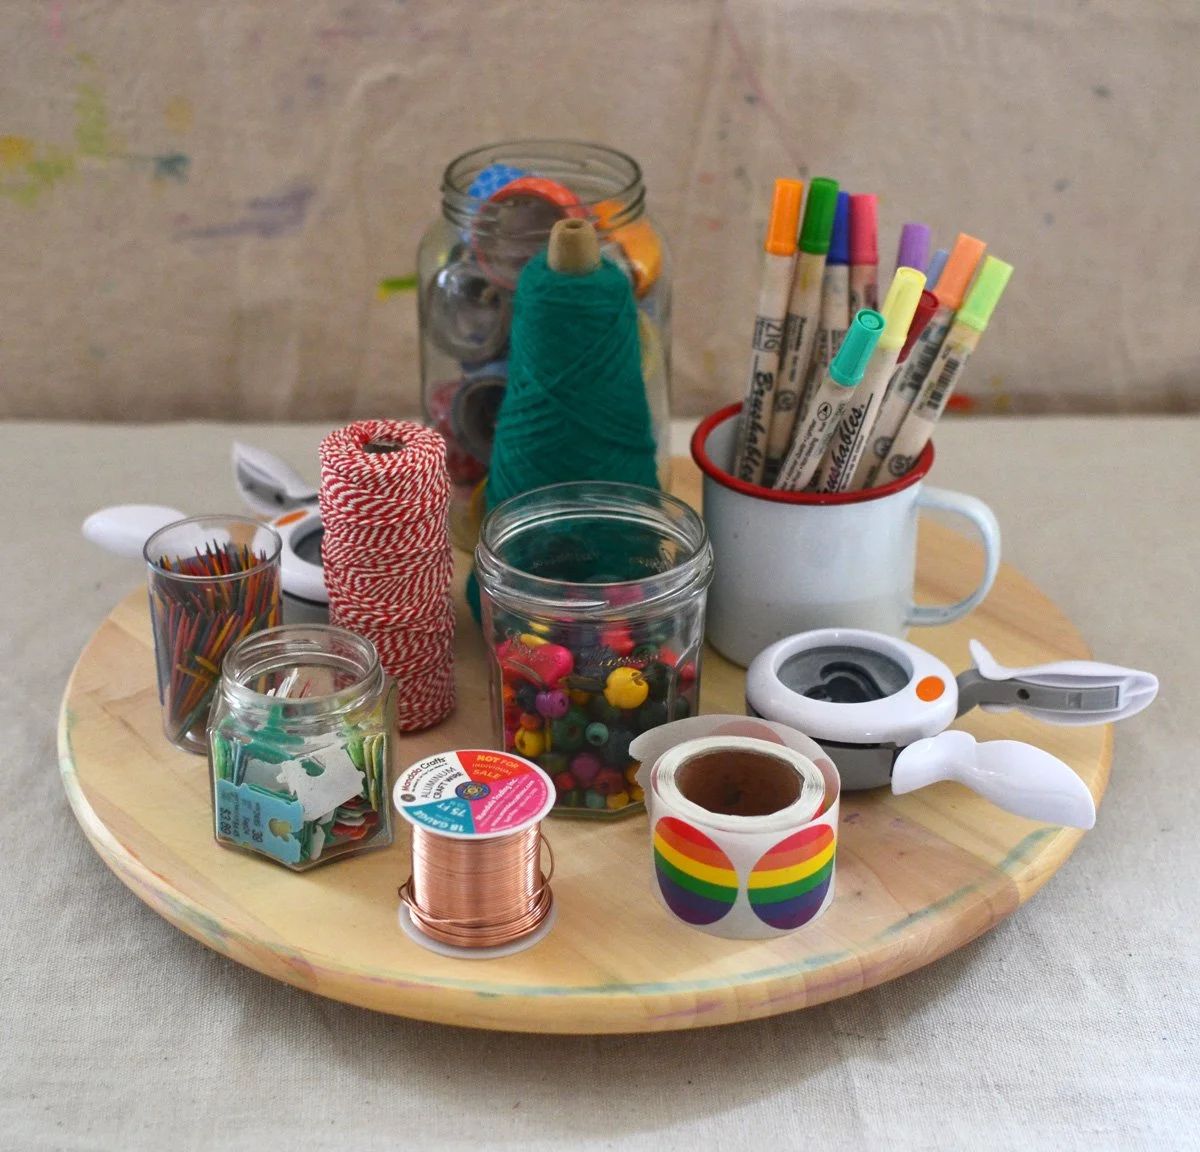
Grab your little one and a small laundry basket and search your home office, sewing/craft area, bathroom, kitchen, play area, bathroom, and garage for ideas. (I also took kids to Dollar Tree so they could choose one or two embellishments a week so we use change up our supplies.)
Hope loved having her own basket and discovering something to add to a project.
It builds skills on decision making and problem solving to let her do that. Her supplies were sorted in sections-Embellishments, surfaces to work on, supplies to create with, and tools to work with.
A lot of her supplies were portable- in Plastic containers with screw on lids. I used a lot of empty pharmacy bottles, peanut butter and spice bottles for her small hands (snap on lids snap off and make huge messes…think glitter…ugh! It’s an awful mess when you snap off the lids and it goes all over).
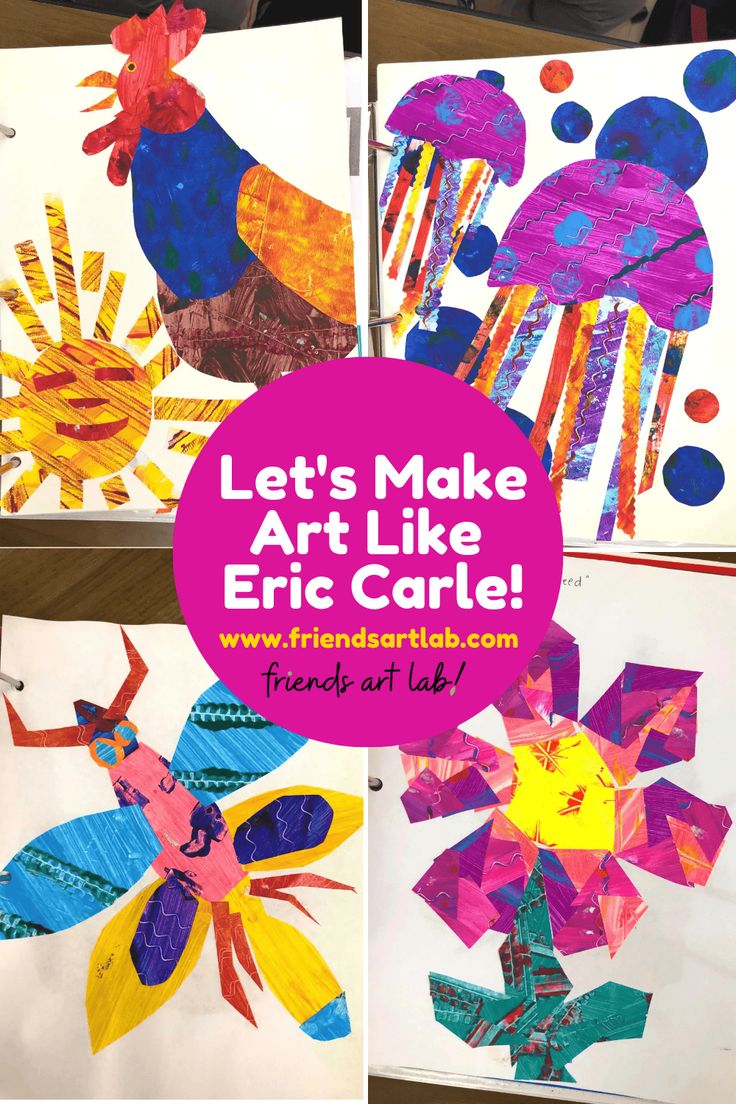
Eric Carle Inspired Collages
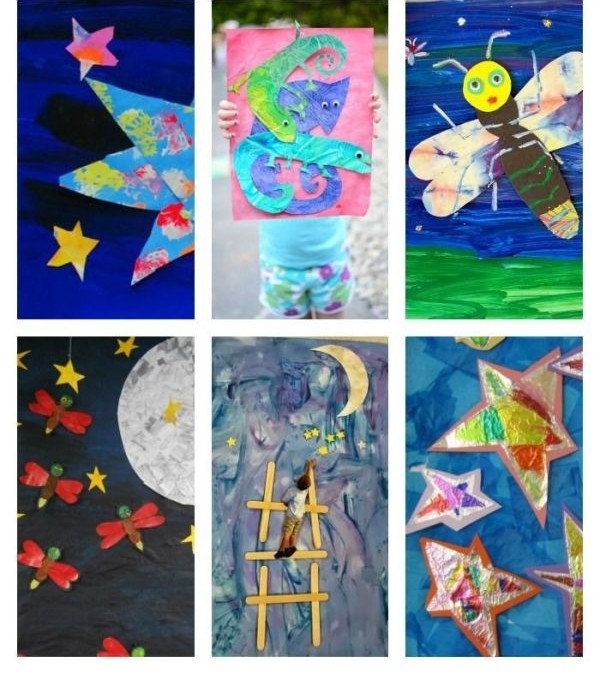
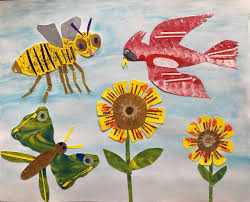
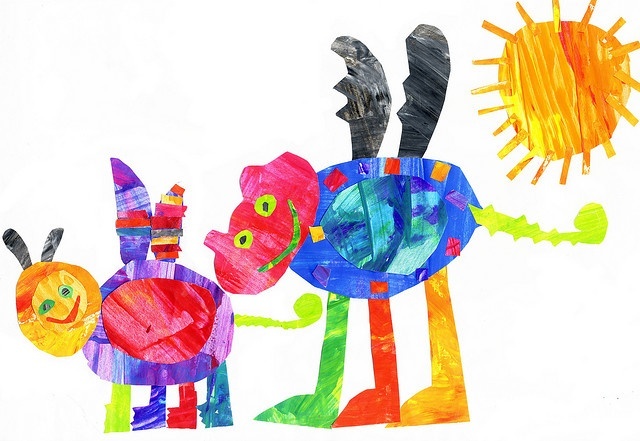
Bring storybook art to life with Eric Carle inspired collages! Kids will love painting, cutting, and layering colorful papers to create their own vibrant masterpieces.
Eric Carle inspired collages
are a delight
Chances are that you own, have read, or can recognize an Eric Carle book.
From The Very Hungry Caterpillar to Brown Bear, Brown Bear, and a million in between, his books are gorgeous, iconic, and perfect for little learners.
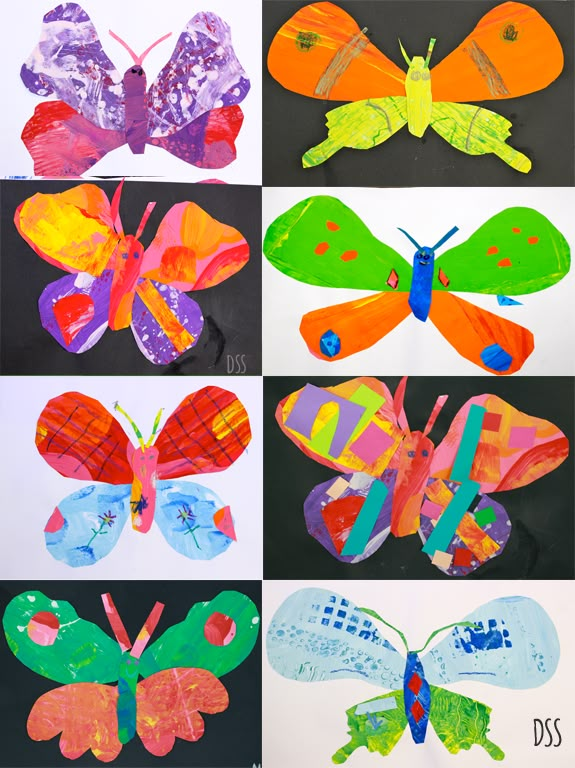
And one of the BEST things about Eric Carle’s art is that his collage style is easy (and fun!) for kids to try, too.
❤️ Related: Kids love our giant 10-foot coloring banners for larger-than-life art fun.
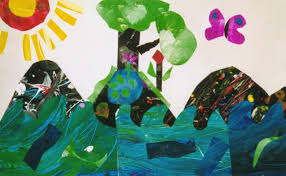
Eric Carle’s technique for making his art was through painting tissue papers with various colors and textures, letting them dry, and then cutting them into shapes to make the art that we know and love.
With young kids, it’s easy to modify that technique by using any colored paper you have on hand (ex: colored construction paper, colored cardstock, colored tissue papers, etc.).
✂️ Check out some of our other favorite paper and collage projects:
Materials
Colored paper – construction paper or cardstock are our faves
Painted paper
Glue sticks – or regular glue
Eric Carle books – if you don’t have access to Eric Carle books, you can also find images of his art online

How to make Eric Carle inspired collages ✂️
Begin by looking at some of Eric Carle’s art and discussing the shapes you see. For example, when looking at the bear on the cover of “Brown Bear, Brown Bear” ask your child to name the shapes they see. Then, talk about the colors used, how the shapes are placed together, and so on.
Next, provide your child with colorful paper, scissors, and glue, and invite them to create their own collages!
Some kids will come up with an idea before they create it and then use the materials to make the design they had in mind. Some kids will begin by cutting up paper shapes, putting them together, and then deciding what it is. Either method, pre-planning or just going for it, yields gorgeous art!
💡 Teacher Tip: When making Eric Carle inspired collages, I also love sitting down and making art with the kids. There’s something relaxing and beautiful about cutting out shapes and putting them together to create designs. It’s just the best.
What age is Eric Carle inspired collage best for?
Any age that can use scissors independently! Our preschoolers always enjoy doing this type of art, but guess what?
