Making Art Possible

Create your own Collage-Art for children, those with Special needs and aging adults- Special Education-Leisure Programs for Seniors-Adapted Art

Create Your Own
ARTventure

Whimsical Treasures II

Get your child creating and learning—all you’ll need is a creative look at what materials and tools that you have available and an open mind.

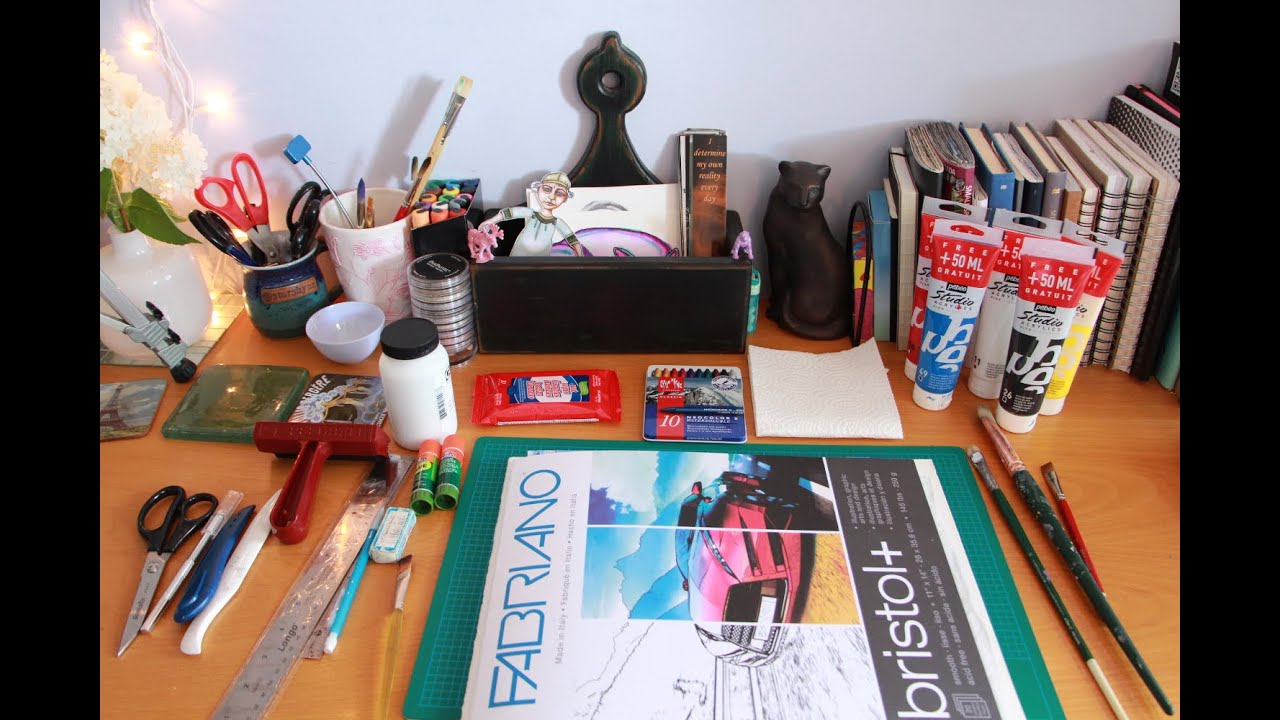
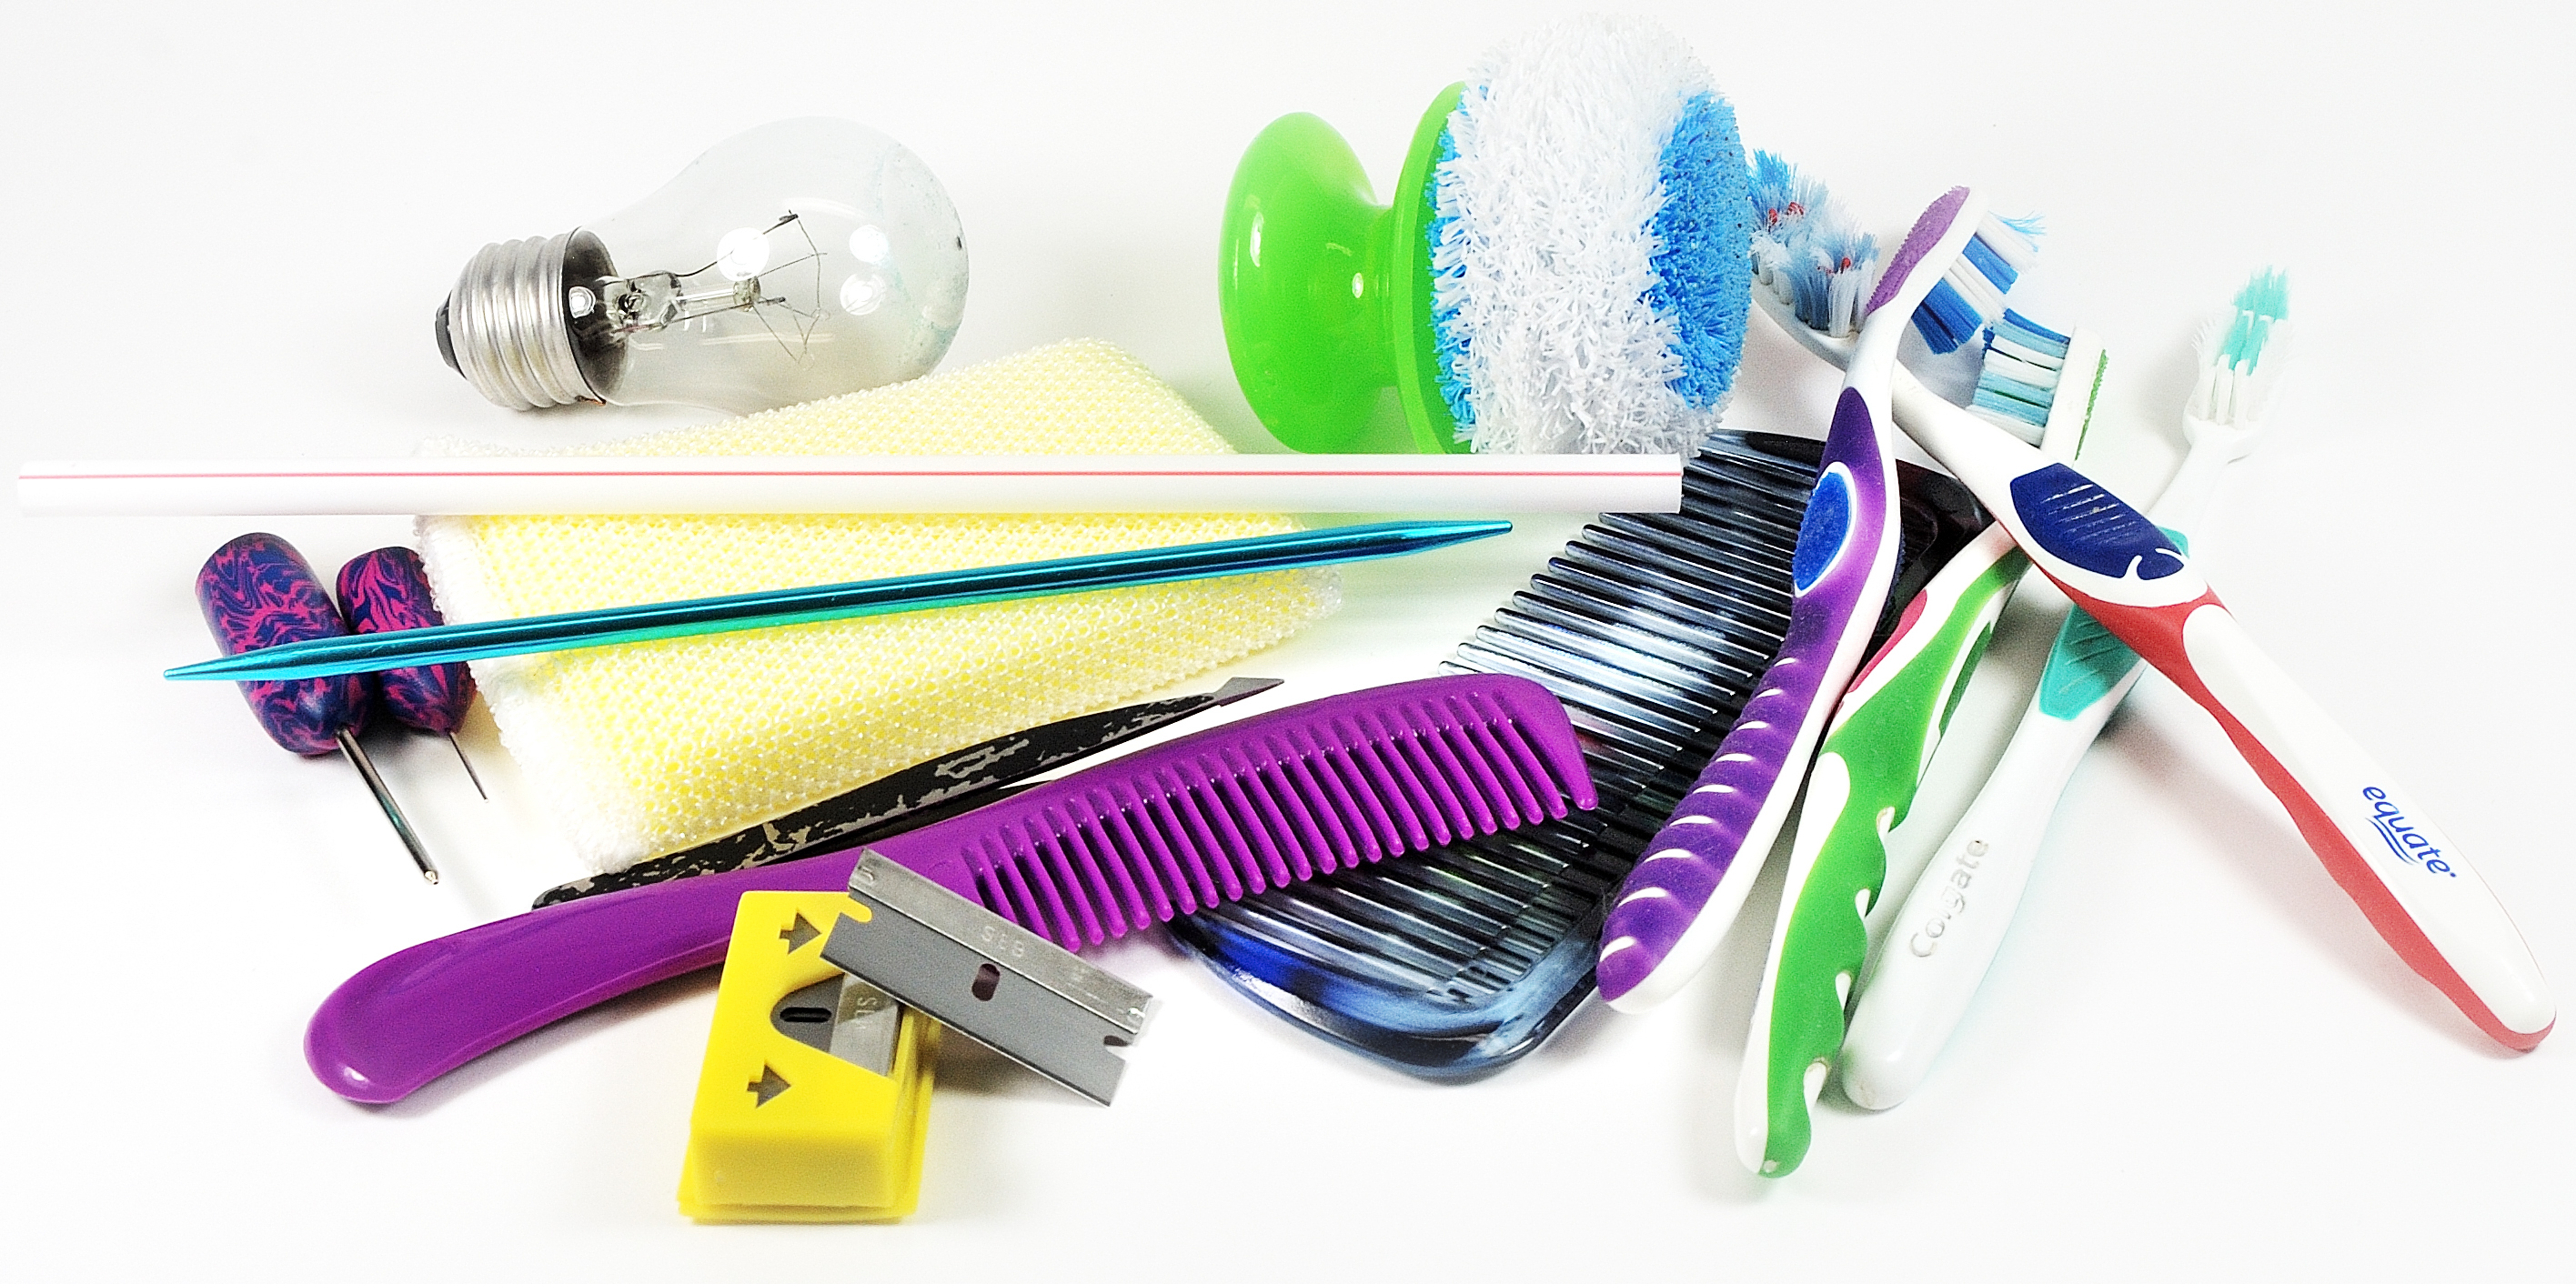
To rev up, your creative juices ransack the kitchen, the basement, the attic, and the garage. Look in hardware stores, department stores, grocery stores, drug stores, and check garage sales and thrift shops. Keep an open mind and be creative. Trust yourself and start your students on the road to trusting themselves!!! Hope was always looking for stuff for art…she found things in the strangest places.

As teacher-facilitator, teachers allow students the freedom to seek out
and discover their own inspiration. When the student finds the inspiration, engagement will increase and learning and growth will
result. Students will then share their enthusiasm with us. They will
express excitement for the subject, the technique, or chosen
medium through the art making process. After all, this is the job of the
artist; to envision and express inspiration.

DON'T LIMIT YOURSELF on mediums, surface or tool. Get as
creative as you can and plan fun into your lesson.
I had to be careful
when doing art with Hope that I remembered to make it fun for
her. Coming from a management background, I sometimes just
presented the new technique or medium to her. She wanted to
learn but she wanted to explore what was on the tray or
discover a new way to use her tools and giggle and laugh. That
is what kept her engaged in a project. That is what made it a
creative experience that she remembered.

We will always want to encourage our artists to explore art
that matches their interests. We can also support their
learning when it comes to new techniques. We can also
help them discover ways to enjoy the process and create in
their own way, turning their newly found inspiration
into project ideas. That's the part that I enjoy!!!

We will start with Sensory Play but you can skip to:
Superscript

Sensory Play

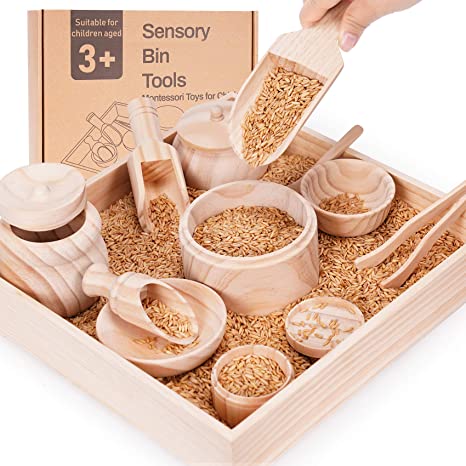
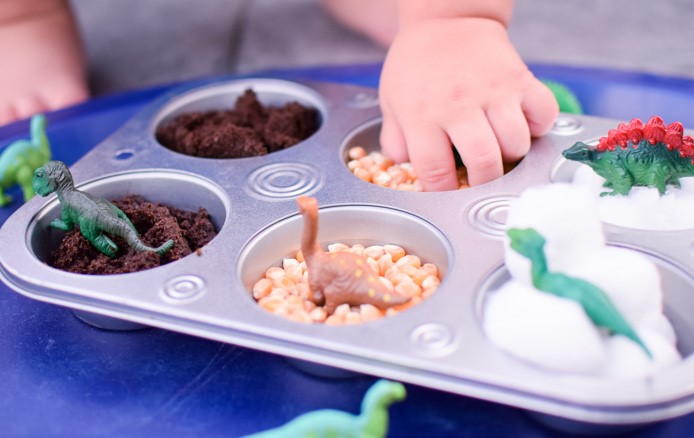
Sensory play helps little ones to develop and improve their gross and fine motor skills, co-ordination and concentration. Also how to work cooperatively and collaboratively, use all their senses to discover and explore their environment, and develop their imagination, creative thinking and ability to problem solve and experiment with solutions.

Imaginative Surfaces

What do you want to create on?

tray

placemat

DIY fabric playmats

snow

sand

paper strips

mud

sandpaper

sand table

floor

cookie tray

trash can

trash bags

mirror

water table

sink

bathtub

table

body

paper

hands

face

Plastic Plates

Paper plates

bins

Bath tub

Splat mat

Small plastic pool

Newspaper

Craft Paper

fake fur


Always offer constant supervision when doing art projects with your Little's and Special's. This is especially true of collage materials which tend to be small and could pose a choking hazard. Always use non-toxic materials and use safety scissors. When the project is finished, be sure to hang it out of your child's reach.

Your Favorite Tools

What tools do you want to create with?
Or how will you create your project?

70 DIY Sensory Recipe's

Print out- "Create With me"Stamping and Collage

flashlight

hands

Cookie cutters

kitchen utensils

brushes

Shape sponges

Rubber or homemade stamps

scrubbers

water toys

funnels

stamps

pitcher

pan

knife

feet

transparent tape

masking tape

cans

light table

baggie

paint brush

instant camera

film for camera

sieves

hose

baggies

saran wrap

foil

blindfold

spoons

cups

bowls

scoop

Q-tips


Fabulous Mediums

What do you want to create with?

Soil
Anything edible

Felt

Tissue paper

Finger paint

Stickers

circle stickers

stamps

torn paper

confetti shapes

blocks

scarves and bandannas

snow

sand

fabric scrap playmats

paper strips

Felt shapes

foam shapes

Greeting Cards

Oatmeal

Shaving Cream

cereal

shredded paper

washi tape

mud

water

fake fur

real fur

balloons

wood

sandpaper

play dough

gelatin

Cardboard Shapes

Straws

pasta

beans

rice

cornmeal

newspaper

Whipped cream

masking tape

shaving cream

pudding

aluminum foil

wax paper

plastic wrap

thin cardboard

clay

packing nuggets

slime

Silly Putty

Cupcake liners

Yarn or string

Superscript

Imaginative Collages

You can start doing collage with your child as soon as you notice that she is picking things up and moving things around with care and deliberation, which is usually around the ninth month or 1-year mark. You'll probably notice this during mealtimes. She'll do even better if she's started to refine that pincer grasp, which happens in the last half of the first year.1 It's may be a good idea to wait on doing collage until your child is past the point of exploring every little thing with her mouth.

Sometimes you may feel like you are doing most of the work of the collage since you are setting up all of the materials. That's true and nothing to worry about. The more collages you do, the more your child's skills will improve and the more involved she will be in future collage preparations.

Other easy collage ideas for toddlers who are beginners (typically in the 12-18 month age range) are:

  • Placing stickers on paper.

  • Using decals on a window (like those you can purchase for holidays).

  • Going through a magazine together to find pictures on a theme (red things, mommies, babies, diapers, etc.) and gluing those to construction paper.

  • Using the sticky side of contact paper face-up as adhesive. Use tissue paper or paper bits to fill it in.

  • Practice spreading glue and putting seeds or macaroni in it. LINK for Directions

Fabulous Surfaces

margarine tubs

plastic containers

paper plates

cardboard

cardboard tubes

cloth

velvet

sand paper

wood

felt

burlap

fake fur

real fur

vinyl

balloons

container

corduroy

leather

denim

canvas

cardboard

can

paper plates

trays

small plastic pools

splat mat

flat pieces of wood

foam plates

wallpaper

contact paper

paper

bark

clay pots or plates

Bottle


Always offer constant supervision when doing art projects with your toddler. This is especially true of collage materials which tend to be small and could pose a choking hazard. Always use non-toxic materials and use safety scissors. When the project is finished, be sure to hang it out of your child's reach.

Your Favorite Tools

Print out- Create with Me Easy Stamping &Collage

Print Out- Very Easy Collage

white school glue

strong glue

Grout

Foil

plastic bag

sponges

scubbere

kitchen utensils

dads tools

Tile adhesive

water

fingers

splat mat

mod-podge

popsicle stick

Plastic Forks, knives, spoons

Marbles

Cookie cutters

markers

Rubber or homemade stamps

Q-Tips

lids or cans

scissors

teaspoon

baby spoon

needle /thread

pan

knife

feet

transparent tape

hands

soap

body

sponges

water toys

funnels

hose

hands

bowl

pitcher

paper clip

tablespoon

rolling pins

garlic press

play dough toys

cups

bowls

scoop

masking tape

cans

baggies

Lids


Imaginative Mediums

Paper strips

paper of all kinds

Tissue paper

Paint

Color Cut Paste "Create with me" Ideas-~~Easier Pinterest list

Cupcake liners

cheerios/fruit loops

Puffed rice

Stickers

circle stickers

stamps

torn paper

confetti shapes

Photo cutouts

magazine pictures

cotton balls

Fabric or lace

Leather or plastic laces

sponges

feathers

newspaper

coffee filters

String or yarn

ribbon

newspaper

sheet music

typewriter keys

jewelry

small metal pieces

coins

bottle caps

DICE

cloth

velvet

felt

burlap

fake fur

real fur

lace

vinyl

corduroy

terry cloth

leather

denim

canvas

gauze

buttons

Q-tips

paper towels

Recycled Paper tubes

Color, Cut & Paste Projects

Doilies

cut up Styrofoam
trays

cut up a paint sample
strips

Pebbles/beach stones

sandpaper

wallpaper

bolts

nuts

screws

flat rocks

rope

string

yarn

weeds

flowers

pebbles

sticks

seashells

leaves

wood chips

bark

pinecones

chandelier pieces

metal, glass and ceramic souvenirs

nuts and bolts

popcorn

beans

rice

pasta

spaghetti

lasagna noodles

aluminum foil

wax paper

plastic wrap

paper shapes

paper plate

paper cup

paper napkin

egg shells

popsicle sticks

Gift wrap

buttons

marbles


Superscript

Sculptures

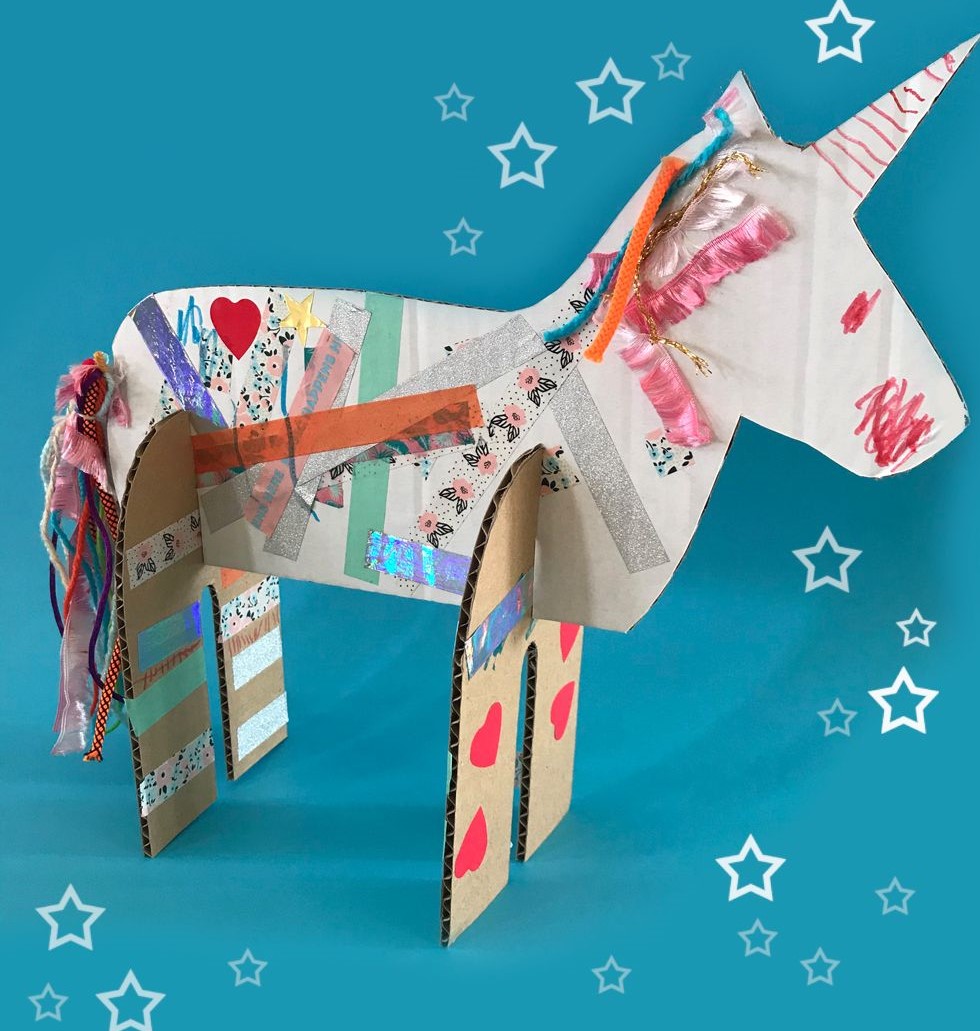
The most wonderful thing about Paper sculptures is that they can create almost anything they can imagine! Flowers, trees, houses, animals – these shapes can be combined, embellished, drawn on, layered with stamps or imagined into whatever they want them to be!
In addition to motor-skill practice (easy cutting,taping, rolling and folding) kids get to experiment with combining colors, patterns and shapes in a variety of ways. It’s also a fantastic lesson in scale, balance and spatial-relation. My favorite Sculpting Lesson
How to make Wood sculptures -Robots -Beaded Wire Sculptures -Easy Paper Plates

Imaginative Surfaces

Felt playmatst

Small worlds

margarine tubs

plastic containers

paper plates

cardboard

recycled paper tubes

cloth

velvet

wood

felt

burlap

fake fur

real fur

lace

vinyl

balloons

container

corduroy

leather

denim

canvas

ribbon

cardboard

string/yarn

can

flat pieces of wood

foam plates

paper plats

wallpaper

contact paper

paper

bark

clay pots or plates

Bottle

Fabulous Mediums

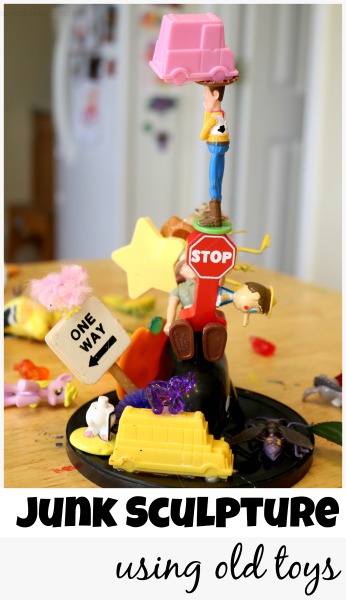
Junk Toys

Sand

newspaper

poster paint

Easy Color Cut Paste

Color Cut Paste Printable Projects:Create with me" Category

Paper Sculpting Projects

Paper Crafting Projects Some 3D

rolls- paper towel or toilet tissue,

wrapping paper,

bar soap

lace

cardboard

Carpeting

pantyhose

stuffing

play dough

strong glue

spray starch

plaster Paris

food

shredded paper

foil

paper bag

string

white flour

water

plaster of Paris

self-hardening clay

feathers

recyclables

stones

wire

Cardboard shapes

Styrofoam shapes
 
wooden shapes

boxes

flour

blocks

popsicle sticks

crayon pieces

beads

cupcake liners

paint

nail polish