Making Art Possible
How to create open-ended Process Art, Tips for teaching art at home,

Tips For Great
Art-ventures

Whether your student is particularly active, hearing or visually impaired, or developmentally delayed:
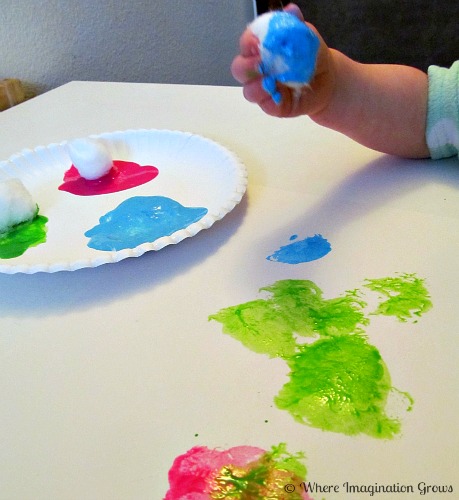
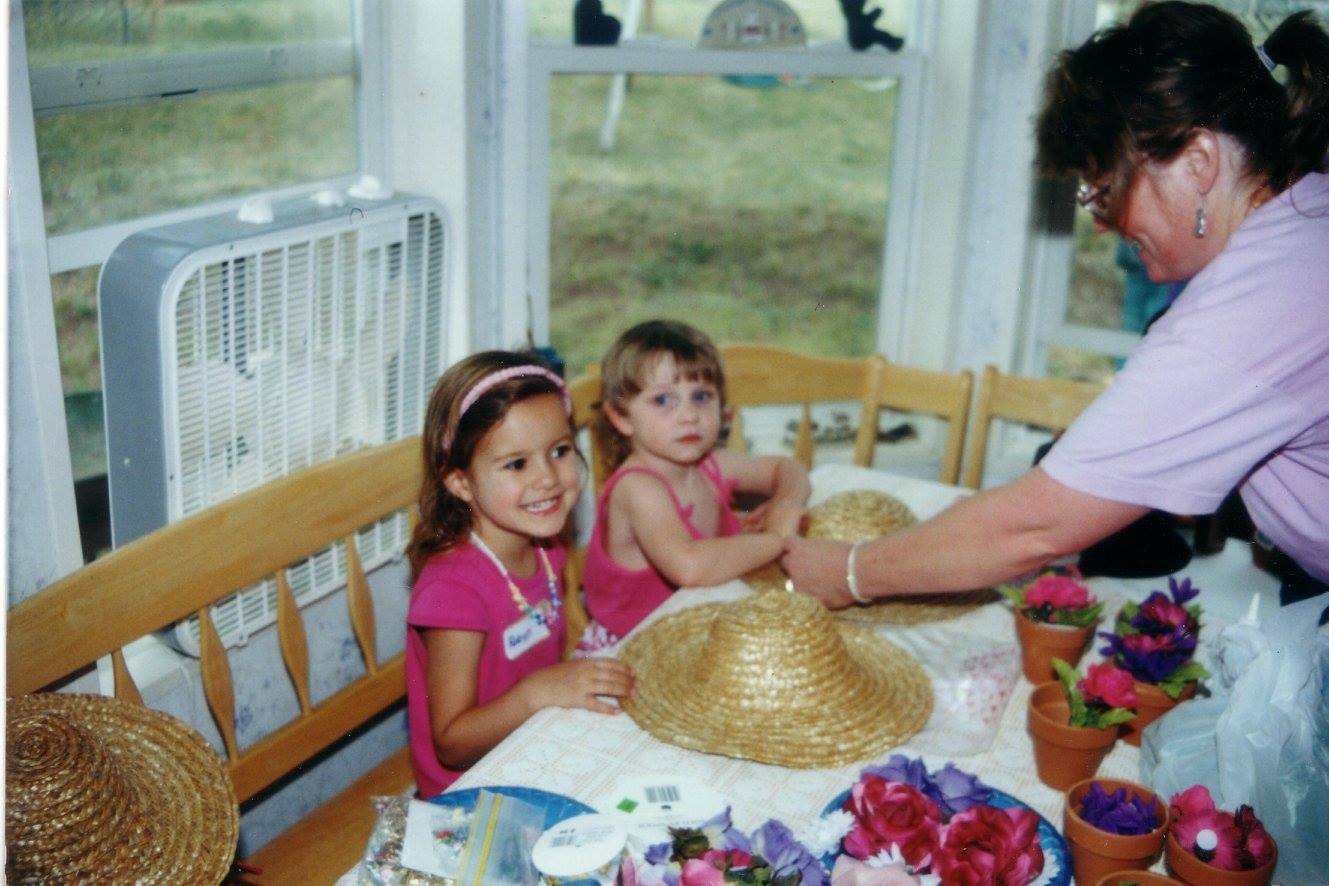
  • Always point out the achievements that she made in this project.
  • Always, always, always, focus on the positive and not on the concepts not yet mastered. You have all the time in the world to create a joyful experience.
  • You can always praise their creativity in using rich colors, fabulous textures or creative layering.
  • Praise their courage in using new tools and supplies.
Art tips and secrets for those who aren't trained art teachers

Some basic art secrets and tips that will make you feel ready

As the Meri Cherry website says: Art with your kids does not have to be scary and it doesn’t even have to be messy. It can be fun, engaging, confidence building, therapeutic and contained. Your kids will thank you for it and you might find out that you are more comfortable with a little mess than you thought.

Presenting the materials on a tray allows the child to access what they need, they can carry their work to their table and easily pack up and put it away when finished. Presenting the materials on a tray makes it very easy for the child to know what they need and focus on the activity rather than collecting supplies. I often did the project the night before so I felt more prepared and that I had everything I would need on the tray. Trays will also make for easier clean-up.

Plan an fun adventure to discover how to creatively use their supplies and tools and how to combine them for an exciting experience. Sometimes the combination doesn't work the colors get muddled or the textures and layers don't come out but YOU HAD FUN exploring. Focus on enjoying the experiment and only display their art if they are proud of it.
Superscript

Block title

Activities in the arts invite children to play with the balance of "head and heart." There are no wrong answers in creative activities. And risk taking is definitely encouraged! Through improvisation and experimentation with the arts in a non-judgmental environment, children learn more about themselves and their world. Inspiring their creativity through any form of art, enables them to be not only confident, but also capable of great things. So discover and appreciate the joy of sharing any art experience with them.

Open Ended Drawing & Direct Drawing

Making Drawing Fun

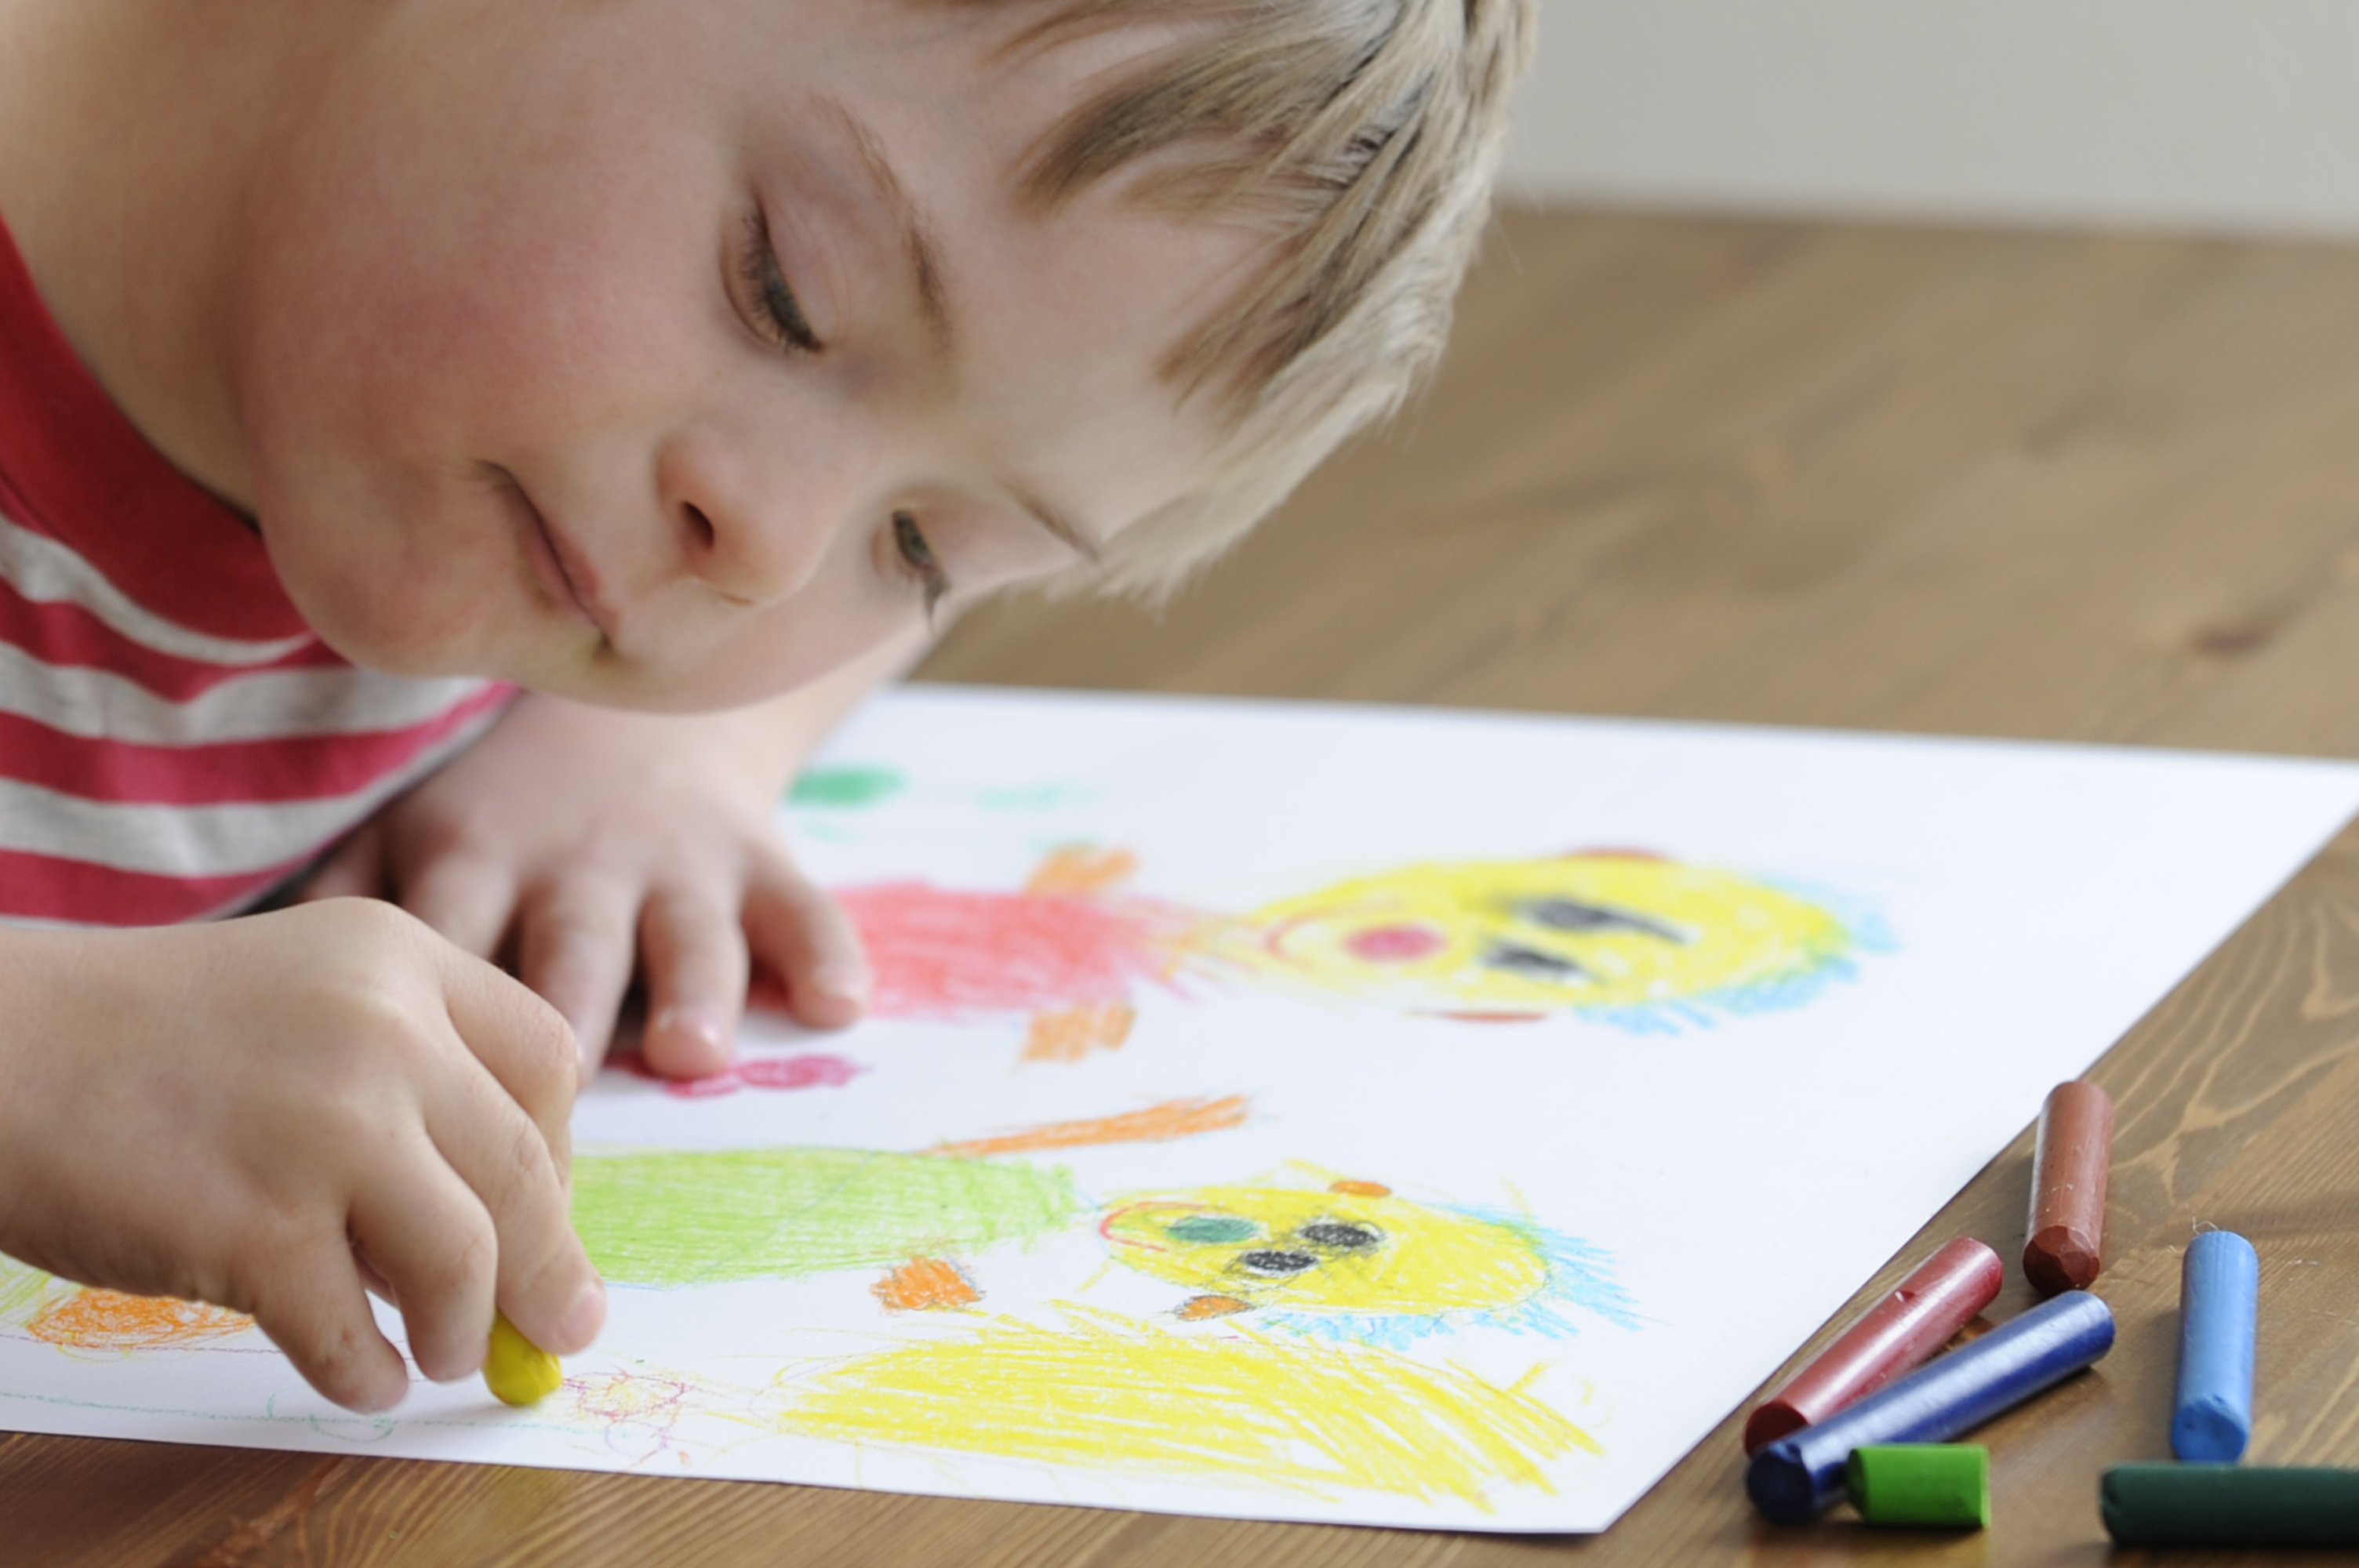
Drawing is a fun way to develop or redevelop writing and motoric skills. But to a child drawing is not meant to be just pencil marks on paper, you have to combine it with other forms of art and give the line some flair!!

As soon as your toddler can hold a crayon comfortably, he's ready to scribble with it. By giving him plenty of opportunities to doodle to his hearts content, you can help him develop strength and control in his fingers now — and eventually, help him understand that marks and lines can represent objects, shapes and letters. Some say that drawing allows us to take the line out on a stroll. I kind of like that because it sounds like the beginning of an adventure of exploring with drawing tools and supplies. Practicing drawing helps train the eye to see what is really there and not what you presume to be there. Drawing helps train the hand to be comfortable with using, um, drawing utensils. Drawing is easy to start and stop- it can be done anywhere, at any time. You don’t need a big space or fancy setup to draw; you just need to be willing to do it.

Tracing and Drawing Worksheets

Doodling and Drawing

Easy Directed Drawing and Fingerprint Animals

Drawing with Symmetry

All you need to know about Drawing- Teachers Notes

Learn more

Open-Ended & Process Art

Painting From The Heart

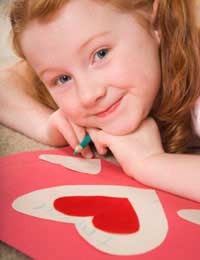
Children are creative entities waiting to release their imagination and transpose it into fun crafts that will keep them entertained and connected with the environment.

Anything that arouses their senses, stimulates their interests and creative juices can trigger their wonderful enthusiasm -which we all adore to watch and surround ourselves with. There are multiple methods of connecting with a child’s creativity but painting has been proven to be a very effective one. Consider teaching your little one how to mix various hues with a sponge or empty tissue paper rolls to exercise their imagination. This way, the idea that one has to stick to a paintbrush in order to create a masterpiece, will be interpreted as a narrow minded way of thinking. Finger painting will enable youngsters to express their true feelings on canvas while teaching them to transfer what they see in the world on to paper, developing their focal ability and enhancing their sense of environmental awareness.
Learn more

Creative Collage Process Art

Snip and Stick Sensations-Creating Joy in Every Layer

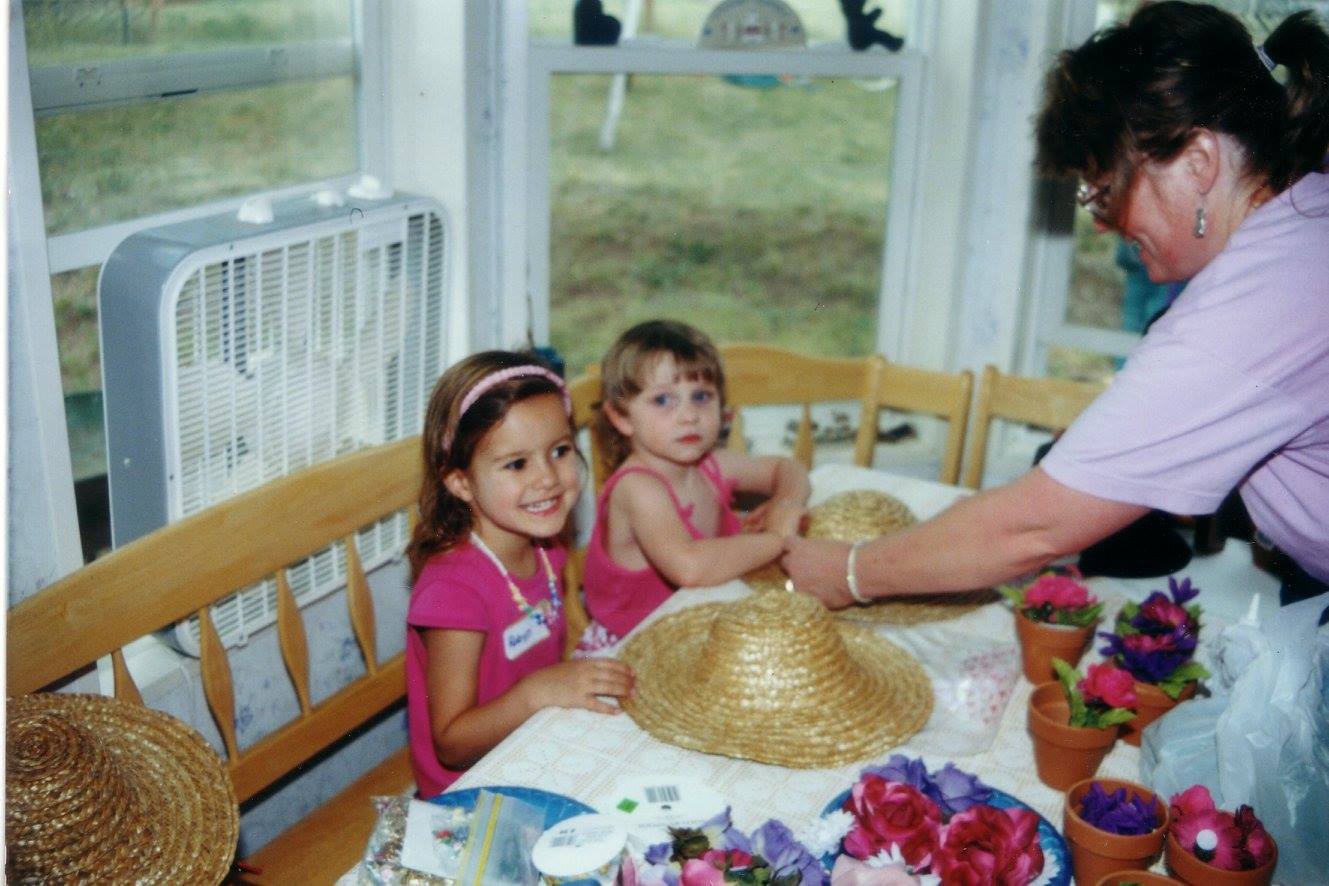
I love collage for so many reasons, but mostly because the process is so therapeutic. You can do layer after layer and it never gets old. Plus my shaky hands don't seem to affect the outcome like in drawing and painting. Gluing, snipping, cutting, tearing, and pasting, sticking, or stacking layers…whatever it takes, they all are so exhilarating to me.

However, simple collage is one of the easiest, open-ended, art activities you can offer your child. To me, a collage is a bunch of odds and ends, with a common theme, that were creatively pieced together. It is taking existing materials and putting them together in new ways and creating a "whole" new piece of art.

For toddlers, creating collage is about creating, imagining, and expressing themselves in a playful and explorative manner. There’s no right and wrong in how toddlers create and respond to art.

By taking a step back from directing your child’s play, you can encourage your toddler to explore his world in his own way. This is important for learning and development.

Learn more

Exploring art skills and art supplies

Creating Fun
for young and new artists

NO EXPERIECE NEEDED-As babies grow and develop, they are so curious and open to trying new things. Art is an activity that can employ all the senses––sight, sound, touch, smell, and taste––depending on the activity. For example, finger painting with your baby will help her develop her fine motor skills. As she touches the paint and moves it around on the paper and changes the look of the paper, she learns what her hands do and how she can affect the environment (her paper) by moving her fingers through the paint.

Children’s brain synapses fire away as they experiment and create by squishing paint between their fingers, mixing colors & materials, or drawing from imagination or what they see in front of them.

Learn more

This is a frequently asked question?

This is a FAQ description. Add more detail about this service, such as benefits, appearance, components and value

This is a frequently asked question?

This is a FAQ description. Add more detail about this service, such as benefits, appearance, components and value

This is a frequently asked question?

This is a FAQ description. Add more detail about this service, such as benefits, appearance, components and value

This is a frequently asked question?

This is a FAQ description. Add more detail about this service, such as benefits, appearance, components and value

Introduction to Painting with a New Artist

INTRODUCING PAINTING TO CHILDREN AND NEW ARTISTS

MATERIALS FOR HOW TO INTRODUCE PAINTING TO CHILDREN
tempera paints– red, yellow, blue, white and black
paint brushes
paint pallette/paper plate
water cup
paper towel/small sponge
large white paper

AREAS OF DEVELOPMENT ENHANCED THROUGH PAINTING
artistic expression
fine motor development
gross motor development
creativity
language development
color exploration

Introduction to Painting with Children
Prior to inviting your children to paint set up painting stations at a table. Each child should receive a large piece of white paper, a paint pallette or paper plate with a small amount of red, yellow, blue, white and black tempera paint with extra space to mix colors, 1-2 paint brushes, a water cup and a paper towel or sponge for blotting. BE PREPARED FOR ACCIDENTS-If you are not near a sink grab a bucket of water. Have your child paint on a tray so if something spills, then it wont ruin their artwork. And have a towel ready to soak up a spill quickly.

Begin the painting experience by demonstrating to your child how she can dip her brush in the paint and then paint on a piece of paper. When your child wants to switch colors demonstrate how she can swirl her paint brush in the water and then blot the brush on the paper towel or sponge before switching colors. Don’t worry if your child doesn’t remember these steps. This process will take time and plenty of experience!

As your child dips her brush in the paint and makes small brush strokes she is focusing on fine motor development. Larger brush strokes that use the whole arm on large paper aid gross motor development. Both are essential parts of a child’s educational experience.

How you speak to a child while he works is just as important as the materials you present to him. Instead of starting sentences with “I like it.” or “It looks like a… to me” focus on statements that observe your child’s actions. “Luca, look at the way you put a blue line all the way across your paper. What did you do with your arm to make that line?”

Let color exploration happen naturally. There is no need to have a “blue day” or “how to mix colors lesson”. This type of knowledge will occur naturally during art experiences. You can facilitate this type of knowledge during painting sessions through the way you speak to the children. “Charlotte, look! I see purple on your paper, but I didn’t give your purple paint. Hmm, how do you think that happened?” It’s okay if your child says “I don’t know”. Color exploration is an ongoing process that requires time and hands on experimentation.

Painting explorations should never focus on an end product. If your child’s artwork ends up looking like a brown blob with more paint on his arms than the paper embrace it! Your child is learning!

The Art of Collage

Author name

Quick Tips for Sensational Snipping and Sticking

Methods for presenting art collage ideas:

~Think of the topic or theme you want the children to create art around
~Find pictures and elements around this theme. (city landscapes, fall scenes, vehicles, houses etc.) Look through books, old calendars, scraps from old projects or sites like Pinterest for inspiration.
~Show the children the pictures and the elements that you have gathered so they can add their own ideas and materials.
~Tell the children WHAT THEME they are going to use. Be it a vehicle, a city landscape or whatever else you choose.
~Make it clear that these images and materials collected are for ideas only and they can pick and choose to add what they want to their lay out
~Then give materials that SUGGEST the idea you want them to create with on a tray or in a box. For example, if it’s a winter picture give white circles and other suggestive white materials. If its vehicles, maybe circles for wheels, triangles for sailboats etc.
~Tell them that they can create their symbolic lay out in any way they like.

Quick Tips for Presenting
a Drawing Project

Drawing is a fun way to develop or redevelop writing and motoric skills. But to a child drawing is not meant to be just pencil marks on paper, you have to combine it with other forms of art

and give the line some flair!!

I would preface the following tips by saying that every child is different and there are a number of influences to when and how you would start out offering little ones the opportunity to draw. Crayola agrees saying "all budding artists develop at different rates so simply select the stage that matches your toddler’s current ability regardless of his or her actual age." I use their “My First” creative tools on all ages for new artists. I liked using homemade paints, glue and play dough, however they attract bugs if your not careful storing their artwork. But if I used store bought, I bought Crayola supplies. They were always safe for little hands washable, and easy to clean up. I am not being paid to say that. Hope, at 24 years old, still reaches for Crayola when she can.


So here are my thoughts and tips on starting out with drawing with toddlers;
In my opinion it’s a good idea to wait until children are about 4 years to start drawing with an expectation of any control in their scribbles. However, giving them time to practice coloring, painting, sculpting with clay and play dough and cutting and sticking a collage together all work on getting the muscles ready to draw. If your child is interested in drawing there are many stage appropriate projects with scribbles in our “Making Drawing Fun” book. The section on Scribbles and what they mean to a budding artist, has several opportunities to make scribbles into wonderful projects that you can do over and over as they progress through that stage of drawing. It also covers the stages of creative development to track which projects are just right for your child on his creative journey

o Choose drawing tools that make marks easily – good quality crayons, oil pastels (the more traditional kind or slick stix), chunky pavement chalk or felt tipped pens. Ensure they are non toxic. I look for well known, child friendly brands like Crayola and Ooly. “My First” Crayola products are designed to meet the early stages of a child’s creative development. Children develop the ability to use art tools at different stages of their toddlerhood—regardless of their actual age. So it’s important to provide little artists with the tools that match their readiness.

o Supervise closely, especially if your toddler is still mouthing objects. Pointy pens and pencils are really unsafe for toddlers.

o I found that Hope is most comfortable standing at a low table or using an easel to draw. Don’t limit yourself to sitting and drawing on a vertical surface. Any position assists with the development of hand and wrist strength and stability. It’s a matter of letting your child do their best work and enjoying it..

o Allow your toddler plenty of time and regular, repeated opportunities for mark making with a range of different drawing mediums. Every project can be repeated and still be different. Notice that they build a drawing from previous experiences with their supplies. The more they use them the better they get at using them independently.

o Remember, it is not about them representing any particular idea, instead they are learning to co-ordinate their body, arms, hands and fingers, and exploring what is possible when they manipulate each drawing tool. Learning to draw is a journey and your are their guide.

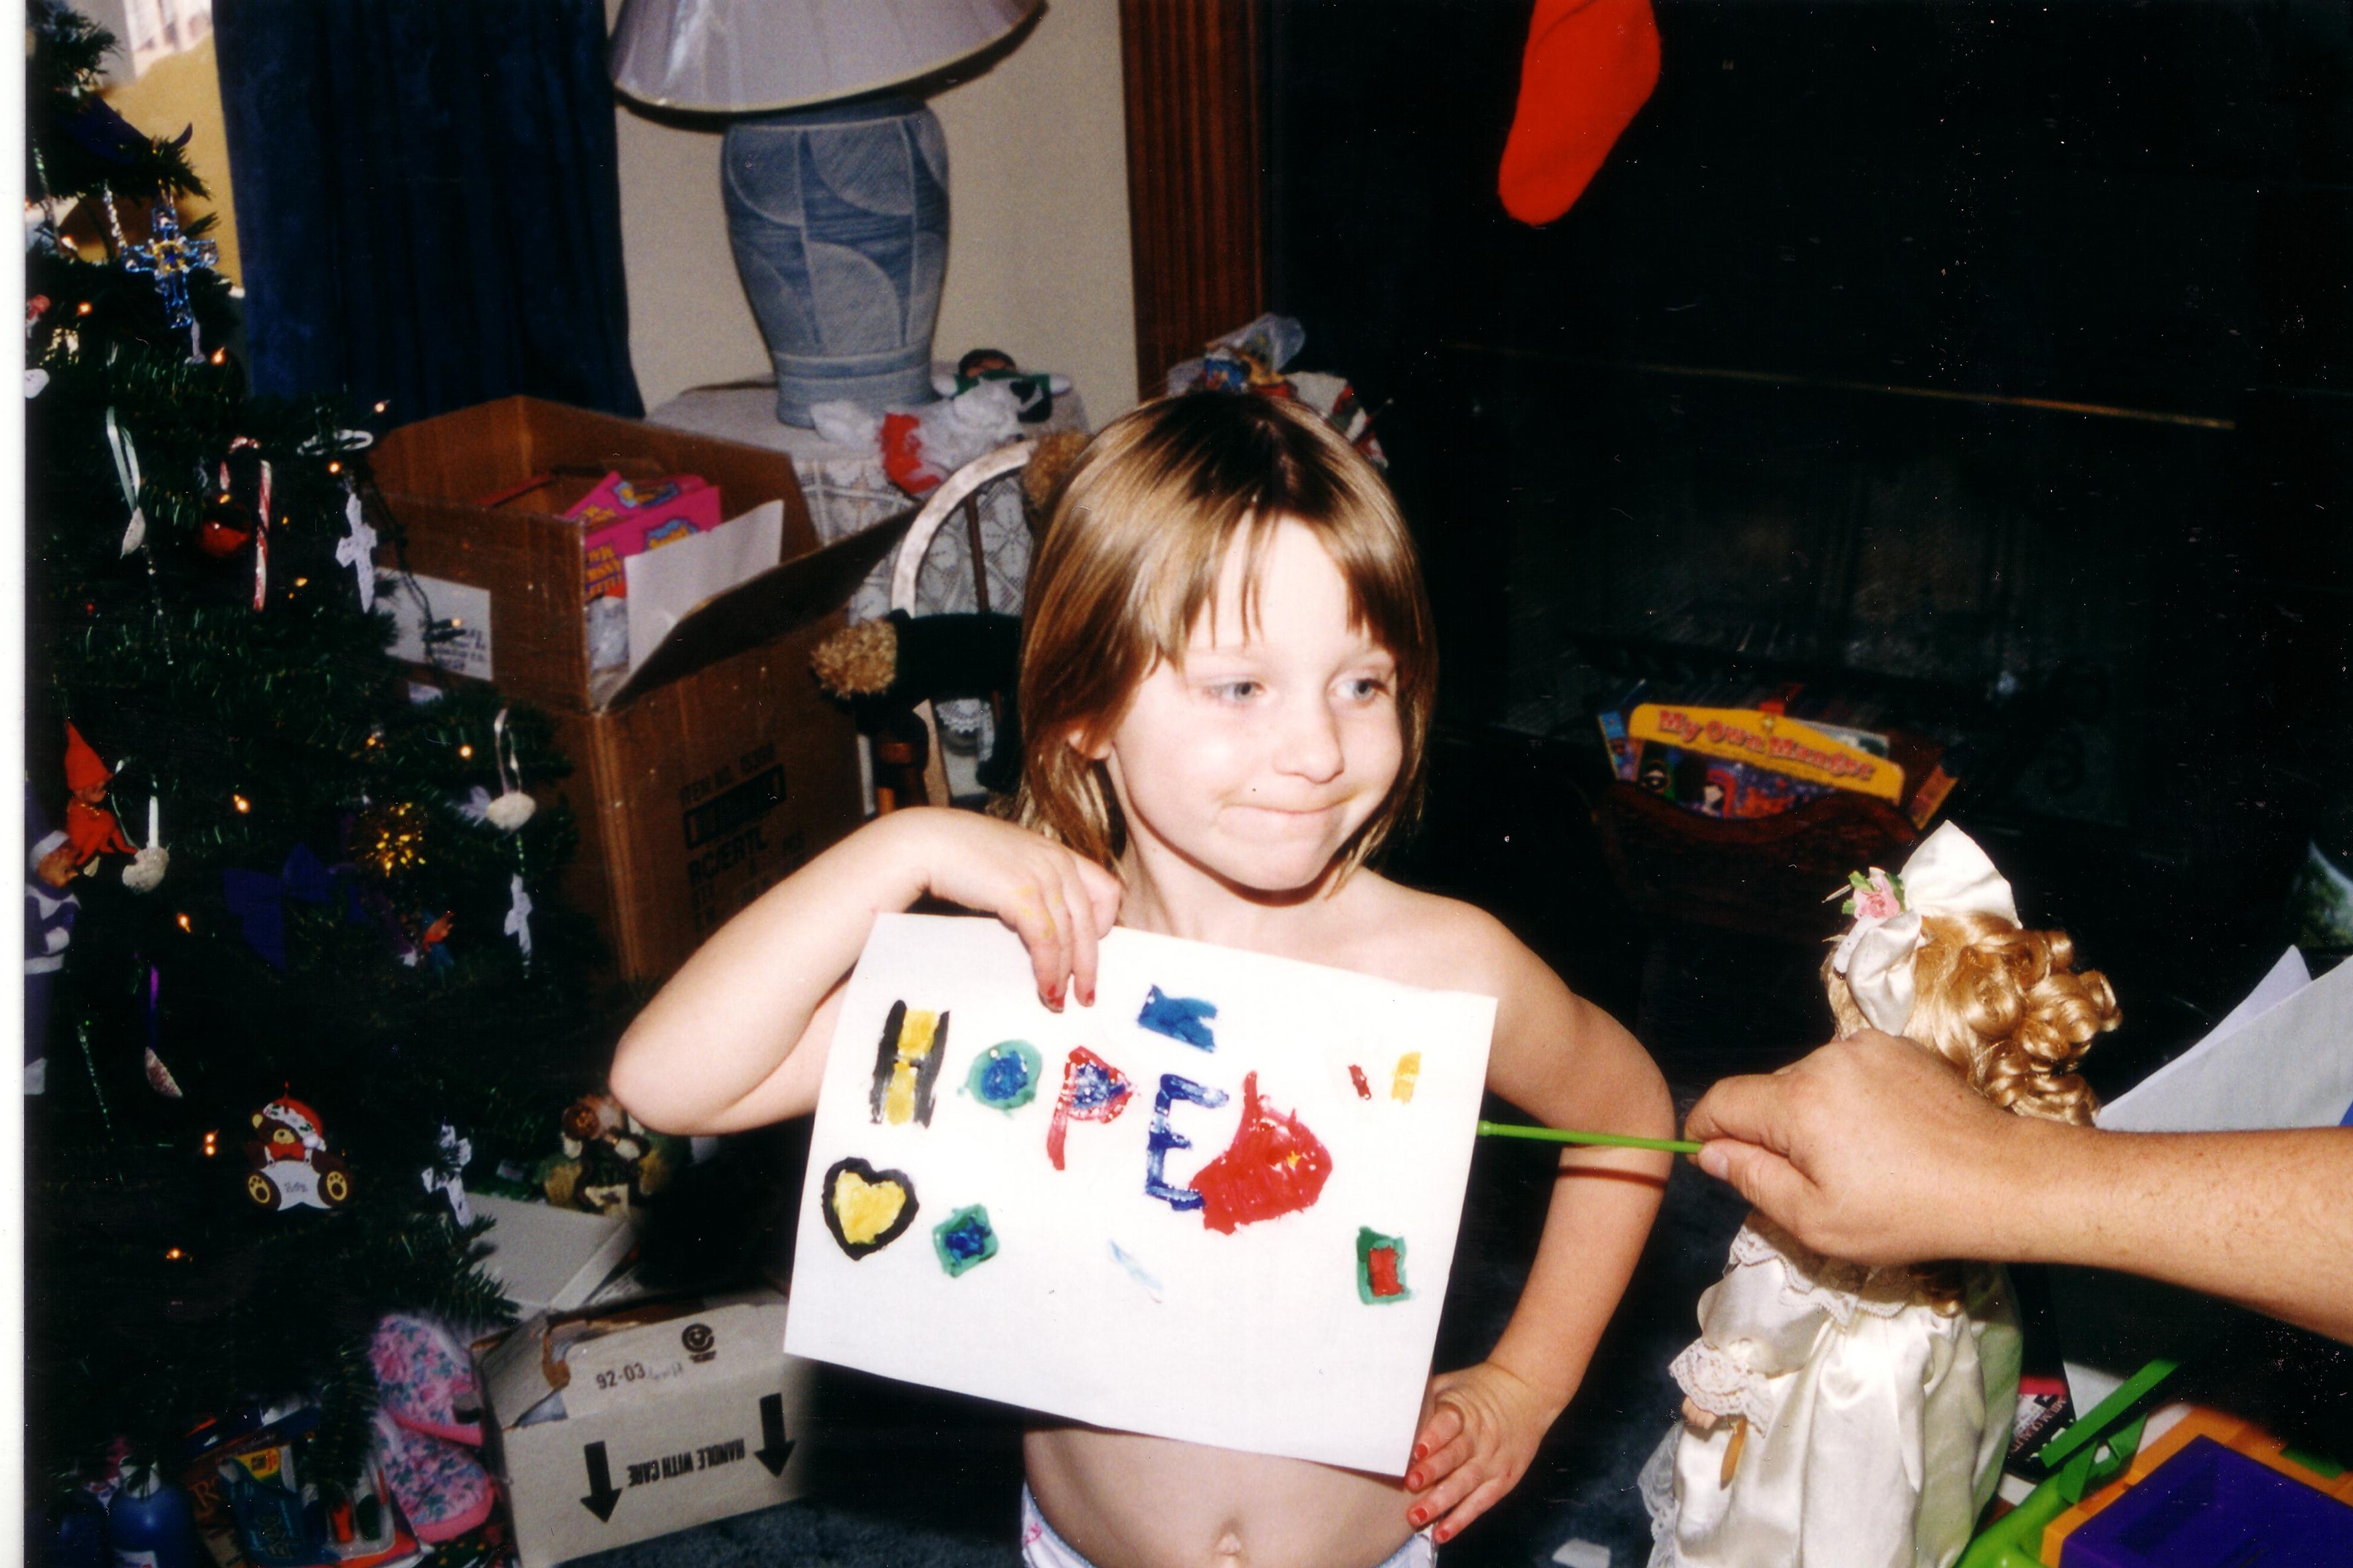
NOTE- Always praise their creativity and courage to use of new supplies and tools. Then display their work proudly-scribbles and all. Remember, we all went through a scribble stage and know that they make for wonderful projects and gifts. One way to perk up a young artist, is to let them draw on one of their colorful process art paintings. They make for great backgrounds to draw on and they are doubly proud when they are finished drawing.

Drawing with Toddlers by OT HOLLY